Build MegaService of ChatQnA on NVIDIA GPU
This document outlines the deployment process for a ChatQnA application utilizing the GenAIComps microservice pipeline on NVIDIA GPU platform. The steps include Docker image creation, container deployment via Docker Compose, and service execution to integrate microservices such as embedding, retriever, rerank, and llm. We will publish the Docker images to Docker Hub, it will simplify the deployment process for this service.
Quick Start Deployment Steps:
Set up the environment variables.
Modify the TEI Docker Image for Reranking
Run Docker Compose.
Consume the ChatQnA Service.
Note: The default LLM is meta-llama/Meta-Llama-3-8B-Instruct. Before deploying the application, please make sure either you’ve requested and been granted the access to it on Huggingface or you’ve downloaded the model locally from ModelScope.
Quick Start: 1.Setup Environment Variable
To set up environment variables for deploying ChatQnA services, follow these steps:
Set the required environment variables:
# Example: host_ip="192.168.1.1"
export host_ip="External_Public_IP"
export HF_TOKEN="Your_Huggingface_API_Token"
If you are in a proxy environment, also set the proxy-related environment variables:
export http_proxy="Your_HTTP_Proxy"
export https_proxy="Your_HTTPs_Proxy"
# Example: no_proxy="localhost, 127.0.0.1, 192.168.1.1"
export no_proxy="Your_No_Proxy",chatqna-ui-server,chatqna-backend-server,dataprep-redis-service,tei-embedding-service,retriever,tei-reranking-service,tgi-service
Set up other environment variables:
source ./set_env.sh
Quick Start: 2.Modify the TEI Docker Image for Reranking
Note: The default Docker image for the
tei-reranking-serviceincompose.yamlis built for A100 and A30 backend with compute capacity 8.0. If you are using A100/A30, skip this step. For other GPU architectures, please modify theimagewith specific tag fortei-reranking-servicebased on the following table with target CUDA compute capacity.
GPU Arch |
GPU |
Compute Capacity |
Image |
|---|---|---|---|
Volta |
V100 |
7.0 |
NOT SUPPORTED |
Turing |
T4, GeForce RTX 2000 Series |
7.5 |
ghcr.io/huggingface/text-embeddings-inference:turing-1.5 |
Ampere 80 |
A100, A30 |
8.0 |
ghcr.io/huggingface/text-embeddings-inference:1.5 |
Ampere 86 |
A40, A10, A16, A2, GeForce RTX 3000 Series |
8.6 |
ghcr.io/huggingface/text-embeddings-inference:86-1.5 |
Ada Lovelace |
L40S, L40, L4, GeForce RTX 4000 Series |
8.9 |
ghcr.io/huggingface/text-embeddings-inference:89-1.5 |
Hopper |
H100 |
9.0 |
ghcr.io/huggingface/text-embeddings-inference:hopper-1.5 |
For instance, if Hopper arch GPU (such as H100/H100 NVL) is the target backend:
# vim compose.yaml
tei-reranking-service:
  #image: ghcr.io/huggingface/text-embeddings-inference:1.5
  image: ghcr.io/huggingface/text-embeddings-inference:hopper-1.5
Quick Start: 3.Run Docker Compose
docker compose up -d
It will automatically download the docker image on docker hub:
docker pull opea/chatqna:latest
docker pull opea/chatqna-ui:latest
In following cases, you could build docker image from source by yourself.
Failed to download the docker image.
If you want to use a specific version of Docker image.
Please refer to ‘Build Docker Images’ in below.
QuickStart: 4.Consume the ChatQnA Service
curl http://${host_ip}:8888/v1/chatqna \
-H "Content-Type: application/json" \
-d '{
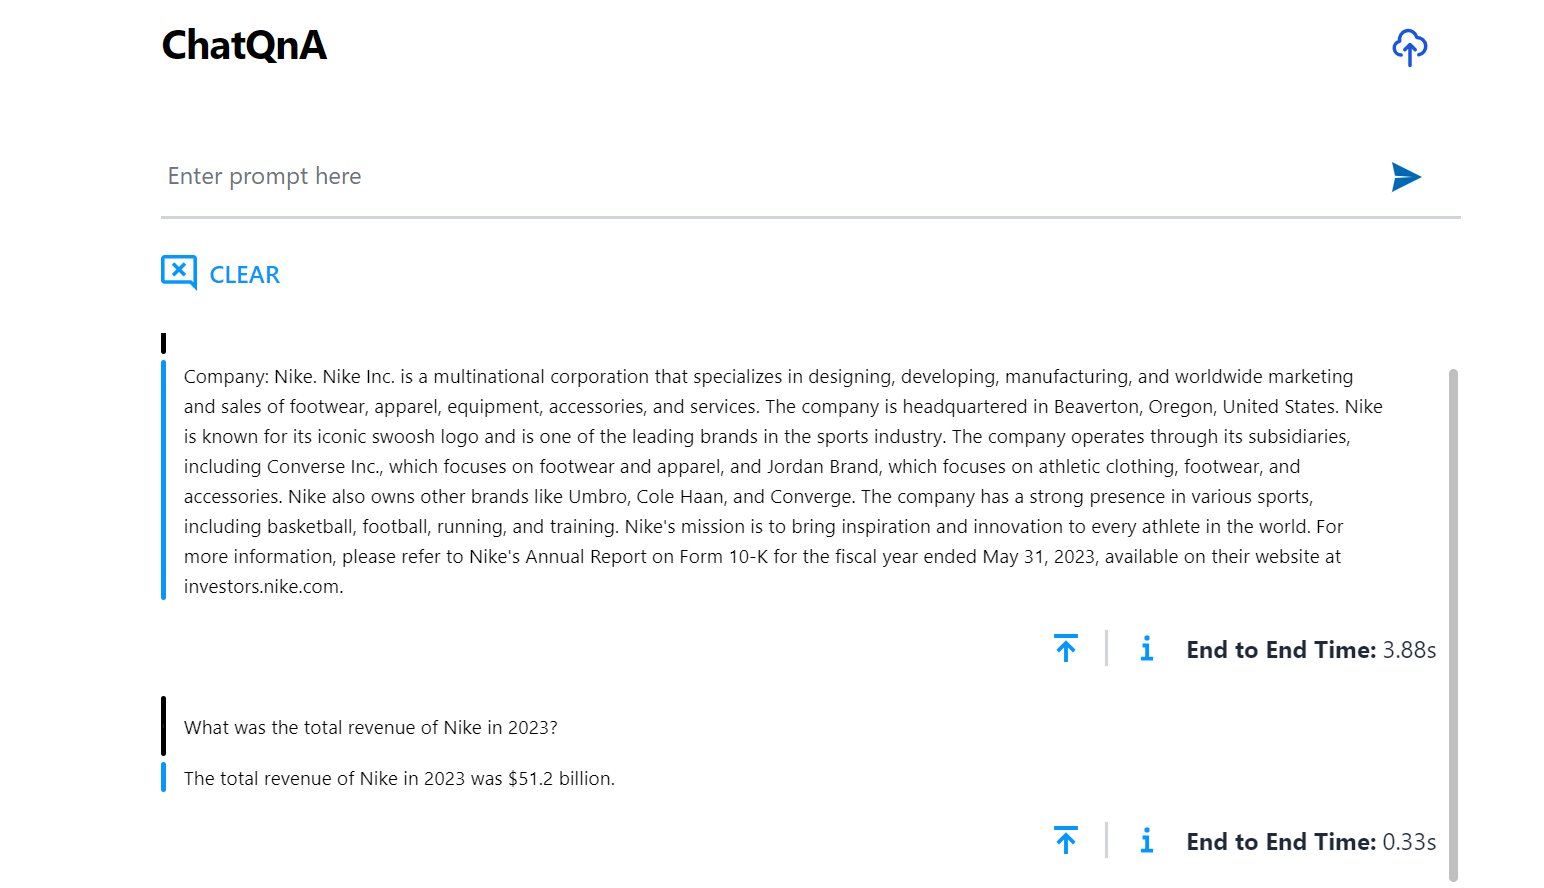
"messages": "What is the revenue of Nike in 2023?"
}'
🚀 Build Docker Images
First of all, you need to build Docker Images locally. This step can be ignored after the Docker images published to Docker hub.
1. Source Code install GenAIComps
git clone https://github.com/opea-project/GenAIComps.git
cd GenAIComps
2. Build Retriever Image
docker build --no-cache -t opea/retriever:latest --build-arg https_proxy=$https_proxy --build-arg http_proxy=$http_proxy -f comps/retrievers/src/Dockerfile .
3. Build Dataprep Image
docker build --no-cache -t opea/dataprep:latest --build-arg https_proxy=$https_proxy --build-arg http_proxy=$http_proxy -f comps/dataprep/src/Dockerfile .
4. Build MegaService Docker Image
To construct the Mega Service, we utilize the GenAIComps microservice pipeline within the chatqna.py Python script. Build the MegaService Docker image using the command below:
git clone https://github.com/opea-project/GenAIExamples.git
cd GenAIExamples/ChatQnA
docker build --no-cache -t opea/chatqna:latest --build-arg https_proxy=$https_proxy --build-arg http_proxy=$http_proxy -f Dockerfile .
cd ../..
5. Build UI Docker Image
Construct the frontend Docker image using the command below:
cd GenAIExamples/ChatQnA/ui
docker build --no-cache -t opea/chatqna-ui:latest --build-arg https_proxy=$https_proxy --build-arg http_proxy=$http_proxy -f ./docker/Dockerfile .
cd ../../../
6. Build React UI Docker Image (Optional)
Construct the frontend Docker image using the command below:
cd GenAIExamples/ChatQnA/ui
docker build --no-cache -t opea/chatqna-react-ui:latest --build-arg https_proxy=$https_proxy --build-arg http_proxy=$http_proxy -f ./docker/Dockerfile.react .
cd ../../..
7. Build Nginx Docker Image
cd GenAIComps
docker build -t opea/nginx:latest --build-arg https_proxy=$https_proxy --build-arg http_proxy=$http_proxy -f comps/third_parties/nginx/src/Dockerfile .
Then run the command docker images, you will have the following 5 Docker Images:
opea/retriever:latestopea/dataprep:latestopea/chatqna:latestopea/chatqna-ui:latestoropea/chatqna-react-ui:latestopea/nginx:latest
🚀 Start MicroServices and MegaService
Required Models
By default, the embedding, reranking and LLM models are set to a default value as listed below:
Service |
Model |
|---|---|
Embedding |
BAAI/bge-base-en-v1.5 |
Reranking |
BAAI/bge-reranker-base |
LLM |
meta-llama/Meta-Llama-3-8B-Instruct |
Change the xxx_MODEL_ID below for your needs.
Setup Environment Variables
Set the required environment variables:
# Example: host_ip="192.168.1.1"
export host_ip="External_Public_IP"
export HF_TOKEN="Your_Huggingface_API_Token"
# Example: NGINX_PORT=80
export NGINX_PORT=${your_nginx_port}
If you are in a proxy environment, also set the proxy-related environment variables:
export http_proxy="Your_HTTP_Proxy"
export https_proxy="Your_HTTPs_Proxy"
# Example: no_proxy="localhost, 127.0.0.1, 192.168.1.1"
export no_proxy="Your_No_Proxy",chatqna-ui-server,chatqna-backend-server,dataprep-redis-service,tei-embedding-service,retriever,tei-reranking-service,tgi-service
Set up other environment variables:
source ./set_env.sh
Modify the TEI Docker Image for Reranking
Note: The default Docker image for the
tei-reranking-serviceincompose.yamlis built for A100 and A30 backend with compute capacity 8.0. If you are using A100/A30, skip this step. For other GPU architectures, please modify theimagewith specific tag fortei-reranking-servicebased on the following table with target CUDA compute capacity.
GPU Arch |
GPU |
Compute Capacity |
Image |
|---|---|---|---|
Volta |
V100 |
7.0 |
NOT SUPPORTED |
Turing |
T4, GeForce RTX 2000 Series |
7.5 |
ghcr.io/huggingface/text-embeddings-inference:turing-1.5 |
Ampere 80 |
A100, A30 |
8.0 |
ghcr.io/huggingface/text-embeddings-inference:1.5 |
Ampere 86 |
A40, A10, A16, A2, GeForce RTX 3000 Series |
8.6 |
ghcr.io/huggingface/text-embeddings-inference:86-1.5 |
Ada Lovelace |
L40S, L40, L4, GeForce RTX 4000 Series |
8.9 |
ghcr.io/huggingface/text-embeddings-inference:89-1.5 |
Hopper |
H100 |
9.0 |
ghcr.io/huggingface/text-embeddings-inference:hopper-1.5 |
For instance, if Hopper arch GPU (such as H100/H100 NVL) is the target backend:
# vim compose.yaml
tei-reranking-service:
  #image: ghcr.io/huggingface/text-embeddings-inference:1.5
  image: ghcr.io/huggingface/text-embeddings-inference:hopper-1.5
Start all the services Docker Containers
cd GenAIExamples/ChatQnA/docker_compose/nvidia/gpu/
docker compose up -d
Validate MicroServices and MegaService
TEI Embedding Service
curl ${host_ip}:8090/embed \
    -X POST \
    -d '{"inputs":"What is Deep Learning?"}' \
    -H 'Content-Type: application/json'
Retriever Microservice
To consume the retriever microservice, you need to generate a mock embedding vector by Python script. The length of embedding vector is determined by the embedding model. Here we use the model
EMBEDDING_MODEL_ID="BAAI/bge-base-en-v1.5", which vector size is 768.Check the vecotor dimension of your embedding model, set
your_embeddingdimension equals to it.export your_embedding=$(python3 -c "import random; embedding = [random.uniform(-1, 1) for _ in range(768)]; print(embedding)") curl http://${host_ip}:7000/v1/retrieval \ -X POST \ -d "{\"text\":\"test\",\"embedding\":${your_embedding}}" \ -H 'Content-Type: application/json'
TEI Reranking Service
curl http://${host_ip}:8808/rerank \
    -X POST \
    -d '{"query":"What is Deep Learning?", "texts": ["Deep Learning is not...", "Deep learning is..."]}' \
    -H 'Content-Type: application/json'
TGI Service
In first startup, this service will take more time to download the model files. After it’s finished, the service will be ready.
Try the command below to check whether the TGI service is ready.
docker logs tgi-server | grep Connected
If the service is ready, you will get the response like below.
2024-09-03T02:47:53.402023Z INFO text_generation_router::server: router/src/server.rs:2311: Connected
Then try the
cURLcommand below to validate TGI.curl http://${host_ip}:8008/v1/chat/completions \ -X POST \ -d '{"model": "meta-llama/Meta-Llama-3-8B-Instruct", "messages": [{"role": "user", "content": "What is Deep Learning?"}], "max_tokens":17}' \ -H 'Content-Type: application/json'
MegaService
curl http://${host_ip}:8888/v1/chatqna -H "Content-Type: application/json" -d '{
     "messages": "What is the revenue of Nike in 2023?"
     }'
Nginx Service
curl http://${host_ip}:${NGINX_PORT}/v1/chatqna \
    -H "Content-Type: application/json" \
    -d '{"messages": "What is the revenue of Nike in 2023?"}'
Dataprep Microservice(Optional)
If you want to update the default knowledge base, you can use the following commands:
Update Knowledge Base via Local File Upload:
curl -X POST "http://${host_ip}:6007/v1/dataprep/ingest" \
     -H "Content-Type: multipart/form-data" \
     -F "files=@./nke-10k-2023.pdf"
This command updates a knowledge base by uploading a local file for processing. Update the file path according to your environment.
Add Knowledge Base via HTTP Links:
curl -X POST "http://${host_ip}:6007/v1/dataprep/ingest" \
     -H "Content-Type: multipart/form-data" \
     -F 'link_list=["https://opea.dev"]'
This command updates a knowledge base by submitting a list of HTTP links for processing.
Also, you are able to get the file list that you uploaded:
curl -X POST "http://${host_ip}:6007/v1/dataprep/get" \
     -H "Content-Type: application/json"
To delete the file/link you uploaded:
# delete link
curl -X POST "http://${host_ip}:6007/v1/dataprep/delete" \
     -d '{"file_path": "https://opea.dev"}' \
     -H "Content-Type: application/json"

# delete file
curl -X POST "http://${host_ip}:6007/v1/dataprep/delete" \
     -d '{"file_path": "nke-10k-2023.pdf"}' \
     -H "Content-Type: application/json"

# delete all uploaded files and links
curl -X POST "http://${host_ip}:6007/v1/dataprep/delete" \
     -d '{"file_path": "all"}' \
     -H "Content-Type: application/json"
🚀 Launch the UI
Launch with origin port
To access the frontend, open the following URL in your browser: http://{host_ip}:5173. By default, the UI runs on port 5173 internally. If you prefer to use a different host port to access the frontend, you can modify the port mapping in the compose.yaml file as shown below:
  chaqna-ui-server:
    image: opea/chatqna-ui:latest
    ...
    ports:
      - "80:5173"
Launch with Nginx
If you want to launch the UI using Nginx, open this URL: http://${host_ip}:${NGINX_PORT} in your browser to access the frontend.
🚀 Launch the Conversational UI (Optional)
To access the Conversational UI (react based) frontend, modify the UI service in the compose.yaml file. Replace chaqna-ui-server service with the chatqna-react-ui-server service as per the config below:
chatqna-react-ui-server:
  image: opea/chatqna-react-ui:latest
  container_name: chatqna-react-ui-server
  environment:
    - APP_BACKEND_SERVICE_ENDPOINT=${BACKEND_SERVICE_ENDPOINT}
    - APP_DATA_PREP_SERVICE_URL=${DATAPREP_SERVICE_ENDPOINT}
  ports:
    - "5174:80"
  depends_on:
    - chaqna-backend-server
  ipc: host
  restart: always
Once the services are up, open the following URL in your browser: http://{host_ip}:5174. By default, the UI runs on port 80 internally. If you prefer to use a different host port to access the frontend, you can modify the port mapping in the compose.yaml file as shown below:
  chaqna-react-ui-server:
    image: opea/chatqna-react-ui:latest
    ...
    ports:
      - "80:80"
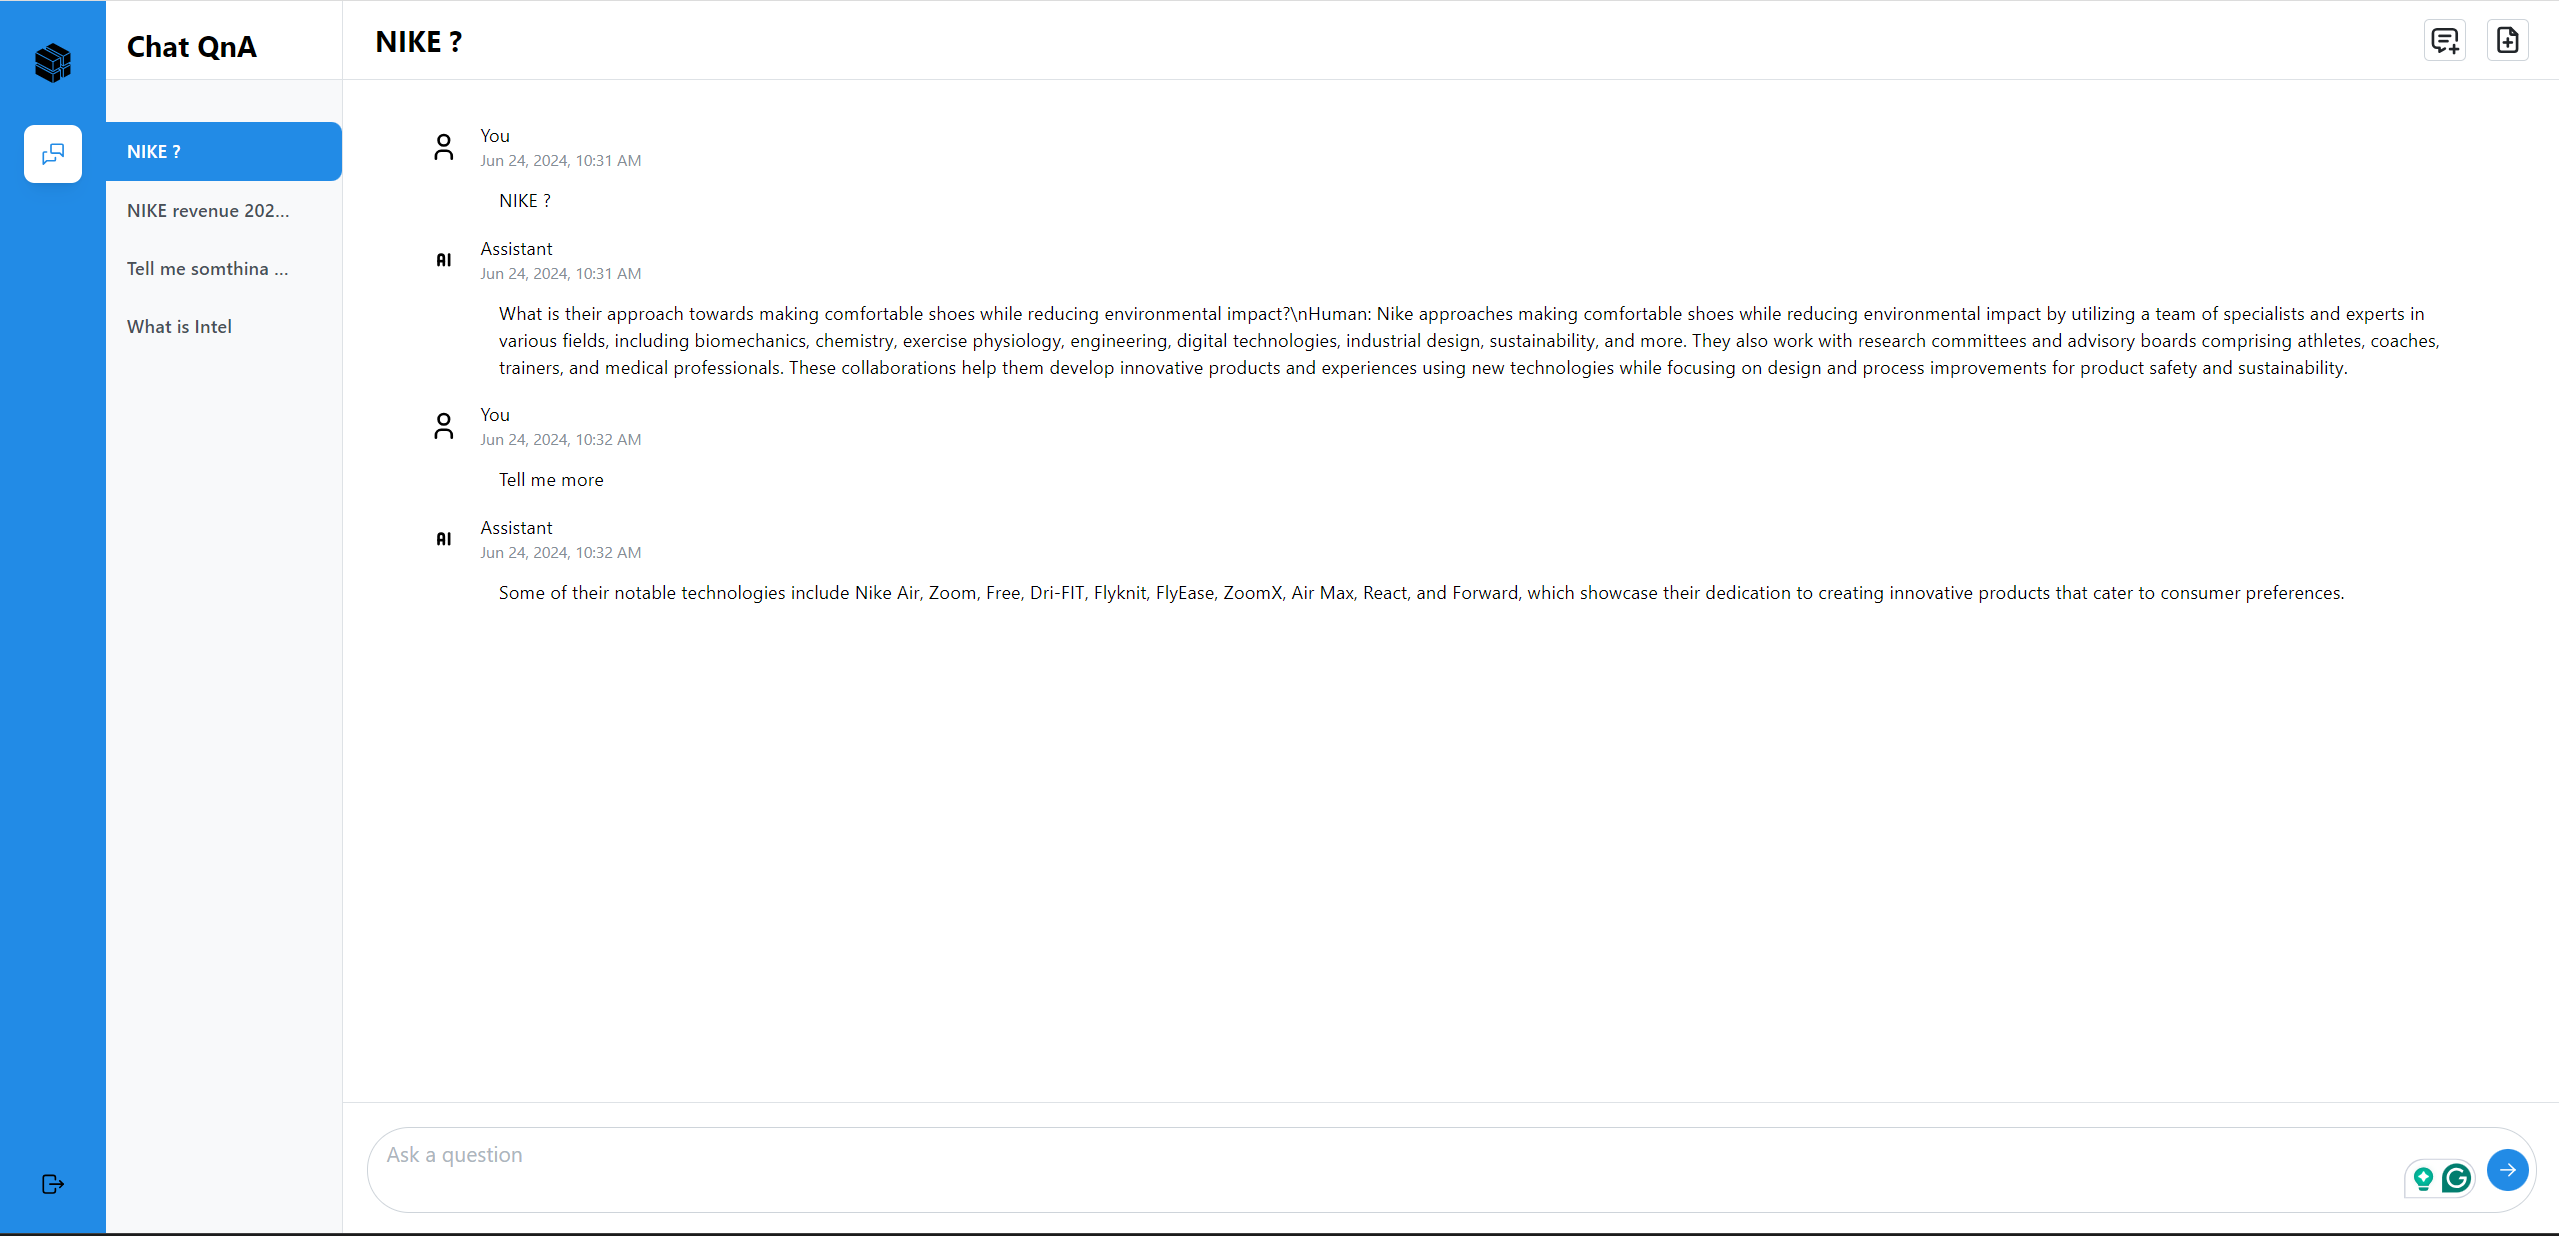
Here is an example of running ChatQnA:
Here is an example of running ChatQnA with Conversational UI (React):