🔐 Keycloak Configuration Setup
This README document provides a comprehensive, step-by-step guide on how to configure Keycloak settings. The user management is facilitated via Keycloak, and the configuration is outlined below:
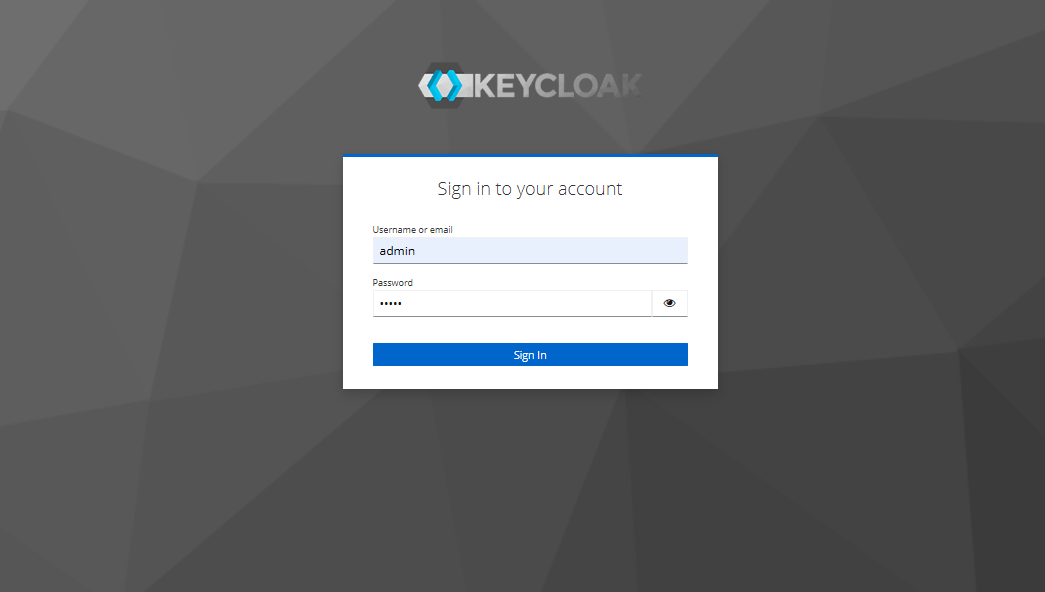
Access the Keycloak admin console via url http:${host_ip}:8080 or endpoint that is exposed from your Kubernetes cluster to configure users. Use the default username(admin) and password(admin) to login.
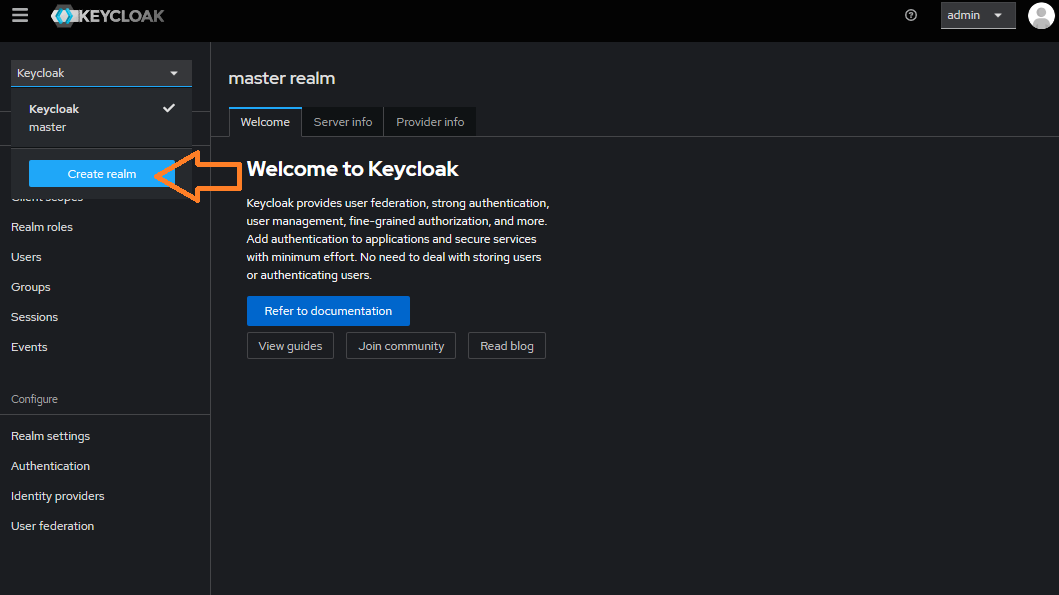
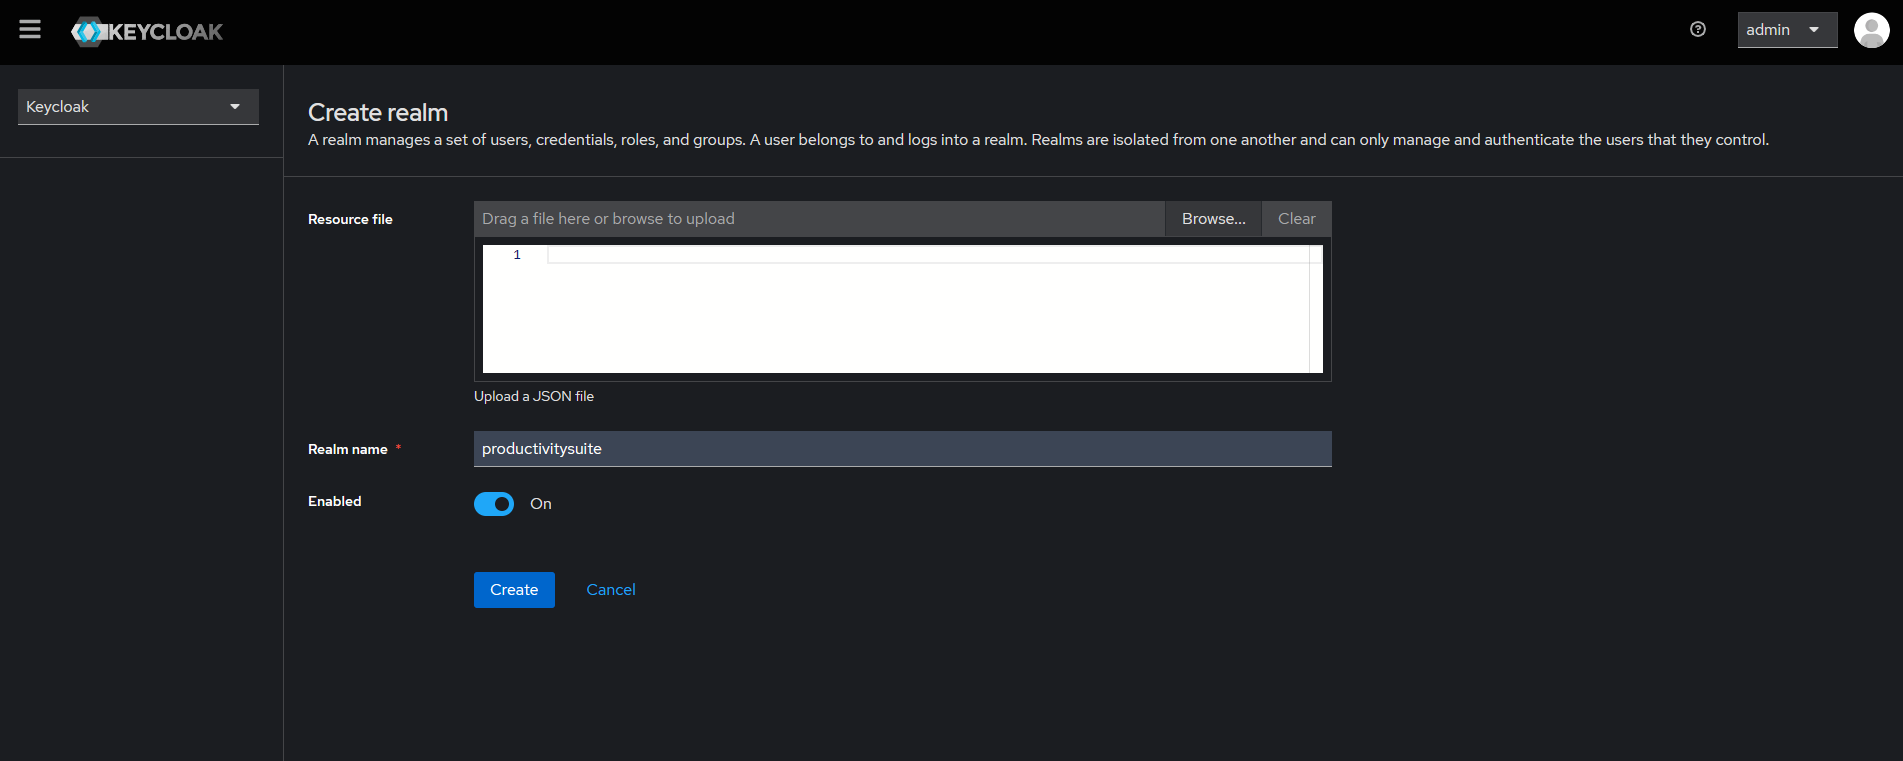
Create a new realm named productivitysuite within Keycloak.
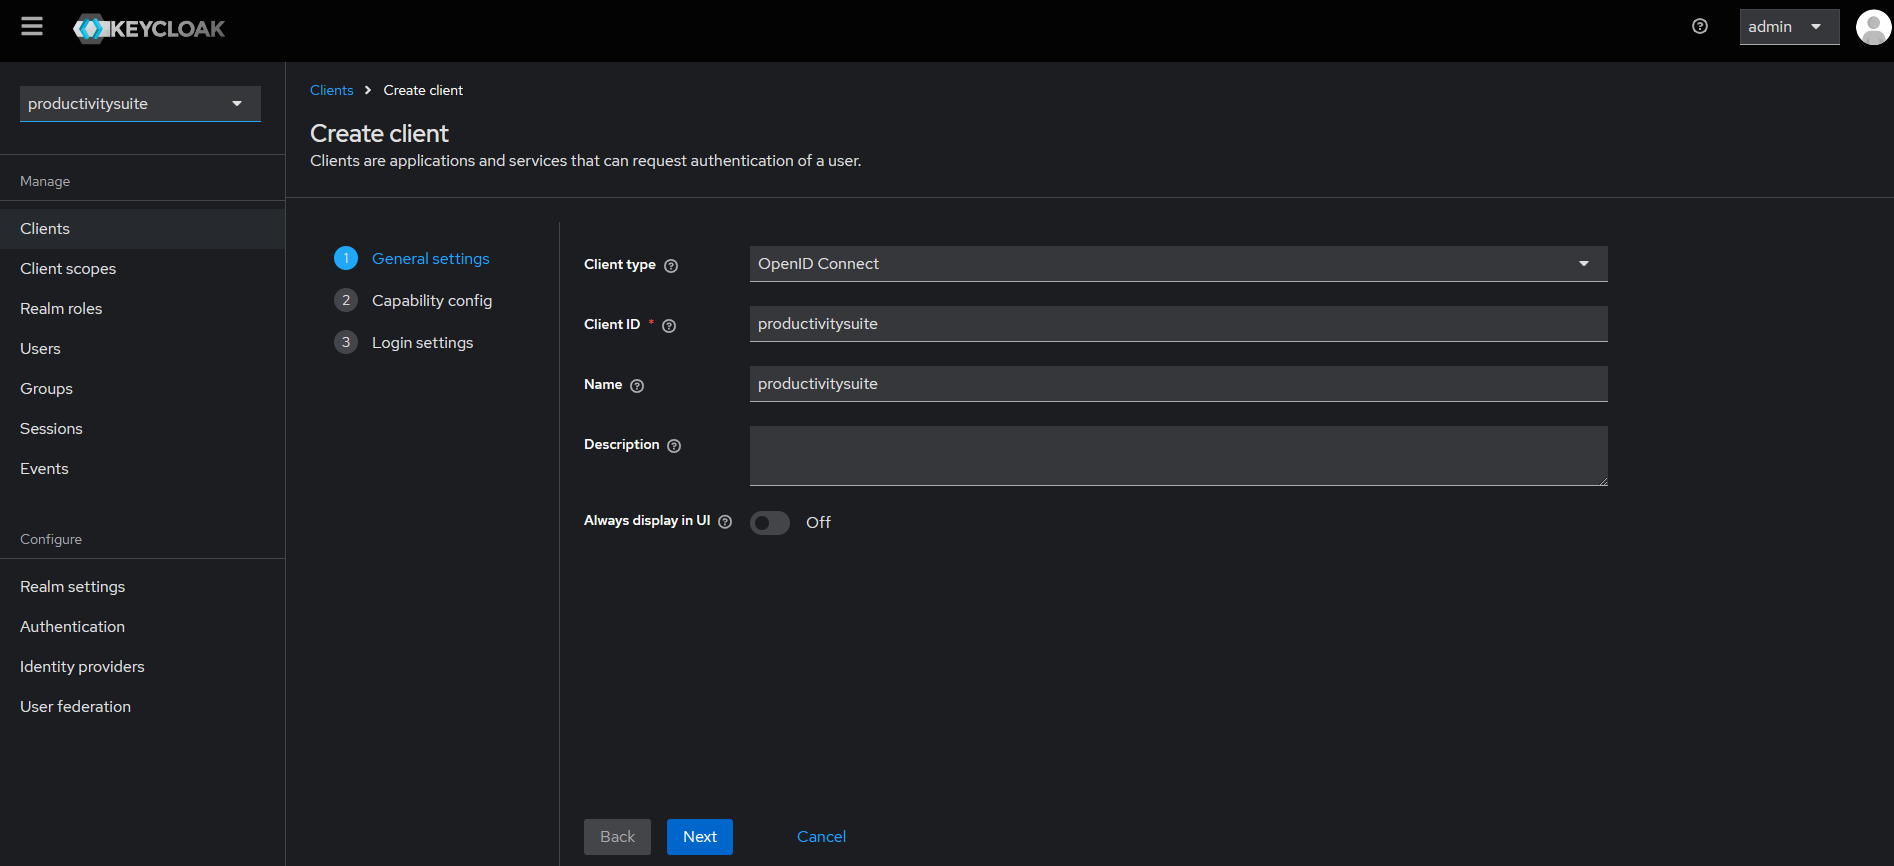
Create a new client called productivitysuite with default configurations.
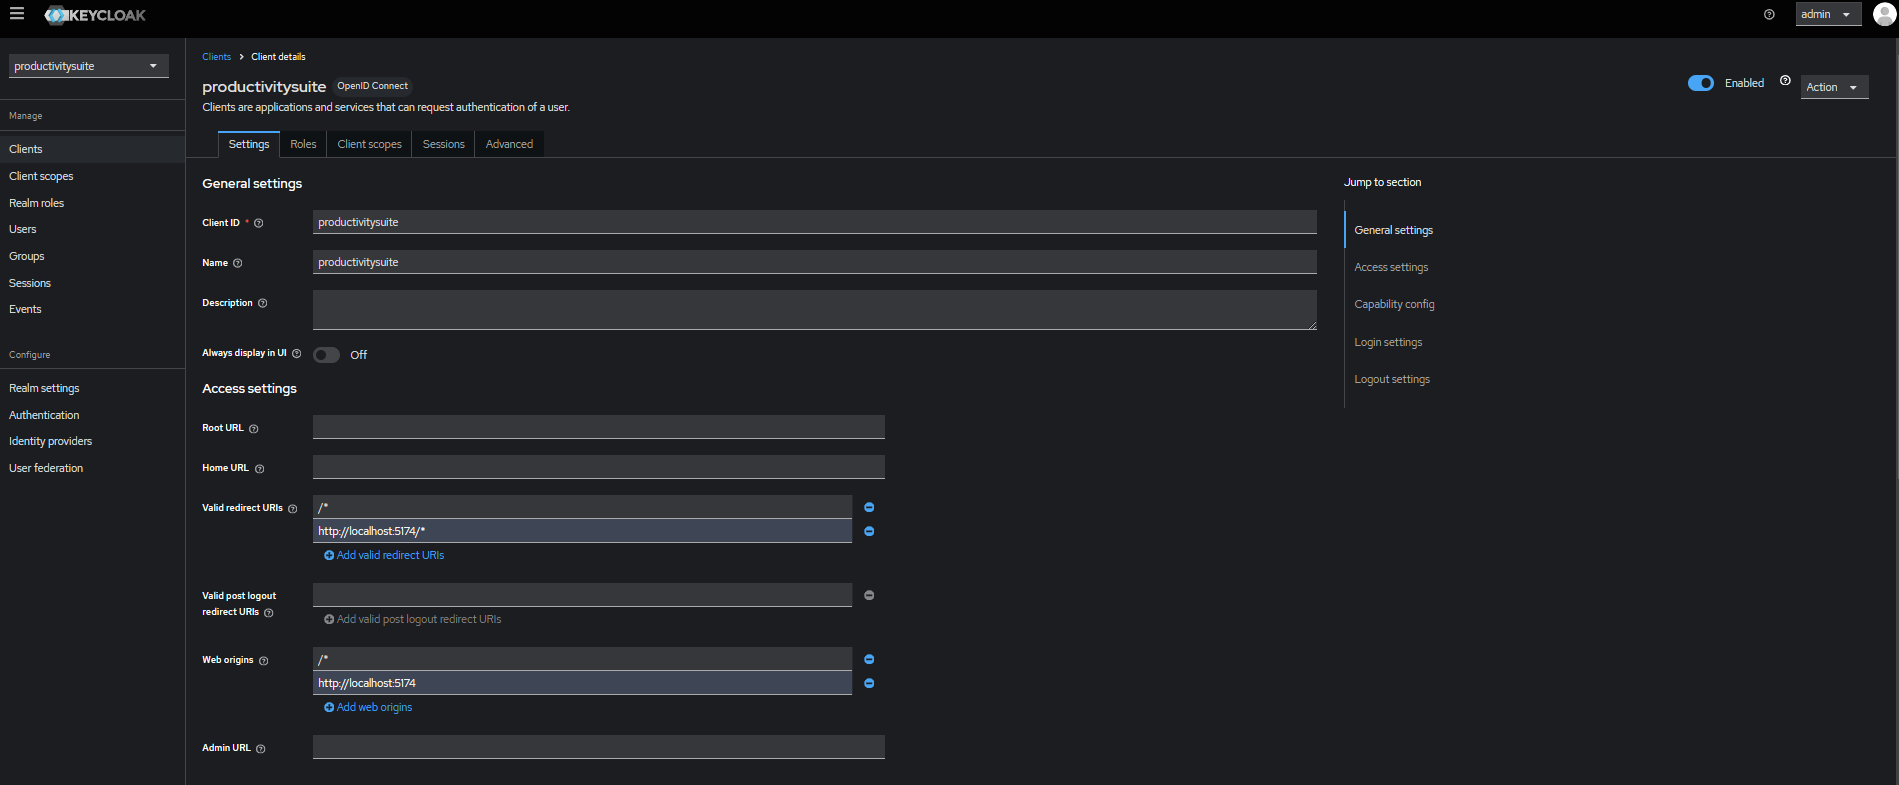
Select the productivitysuite client that you just created. Insert your ProductivitySuite UI url endpoint into “Valid redirect URIs” and “Web origins” field. Refer to screenshot below as an example:
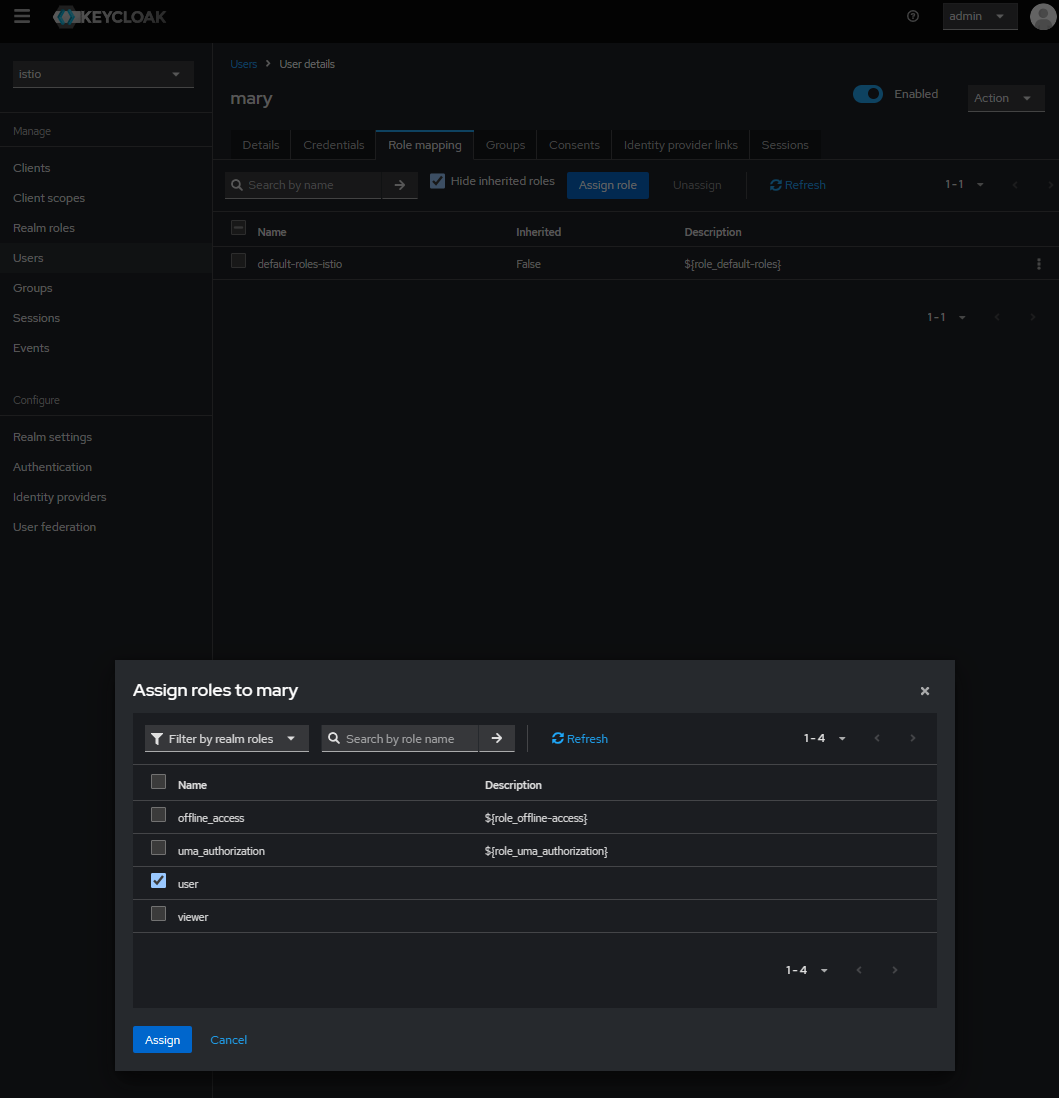
From the left pane, select the Realm roles and create a new role named user and another new role as viewer.

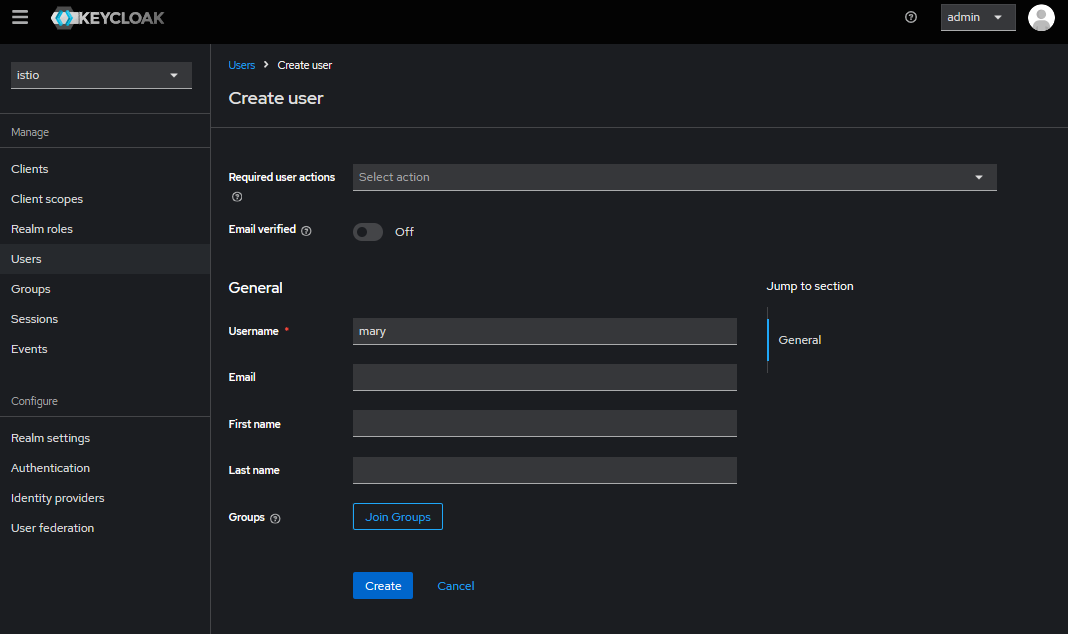
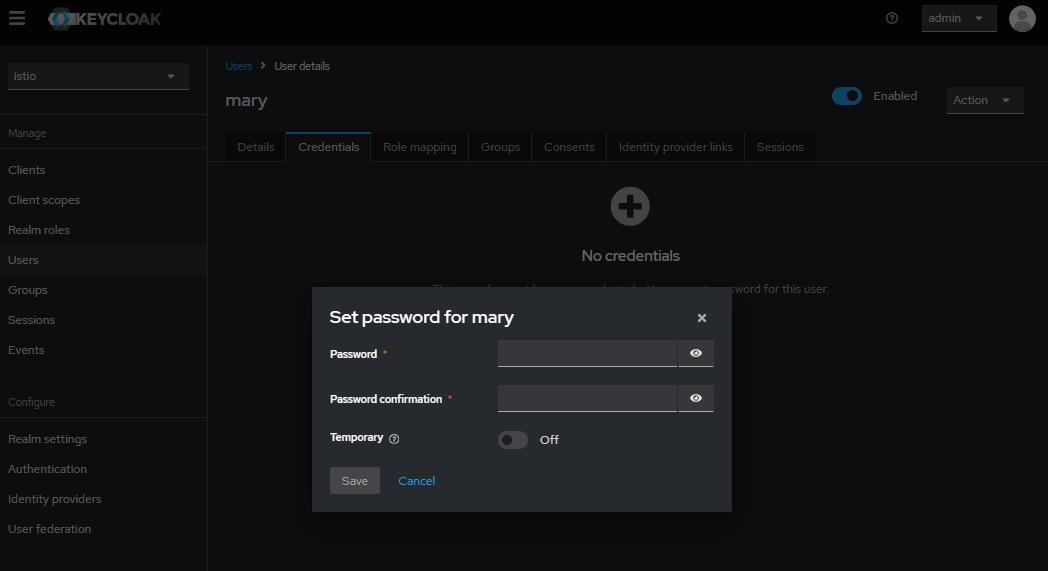
Create a new user named, for example, mary and another user as bob. Set passwords for both users (set ‘Temporary’ to ‘Off’).Select Role mapping on the top, assign the user role to mary and assign the viewer role to bob.