Productivity Suite React UI
📸 Project Screenshots
🧐 Features
Here’re some of the project’s features:
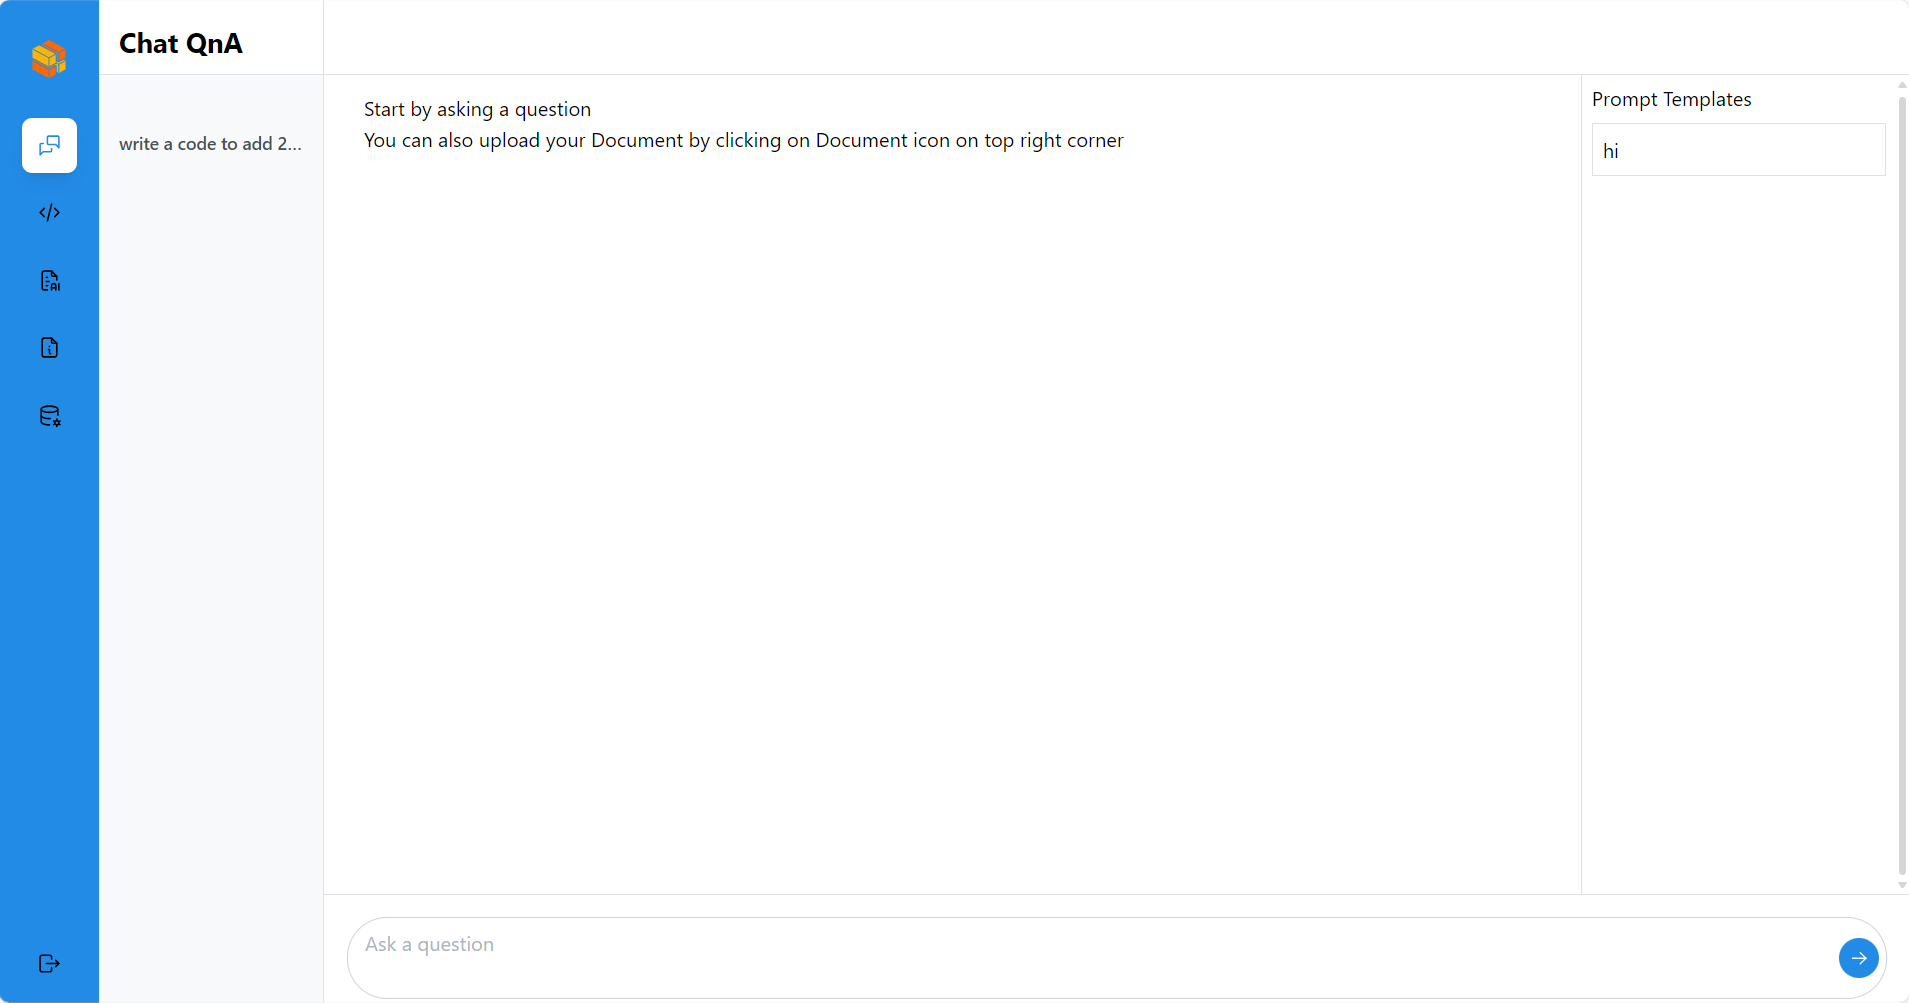
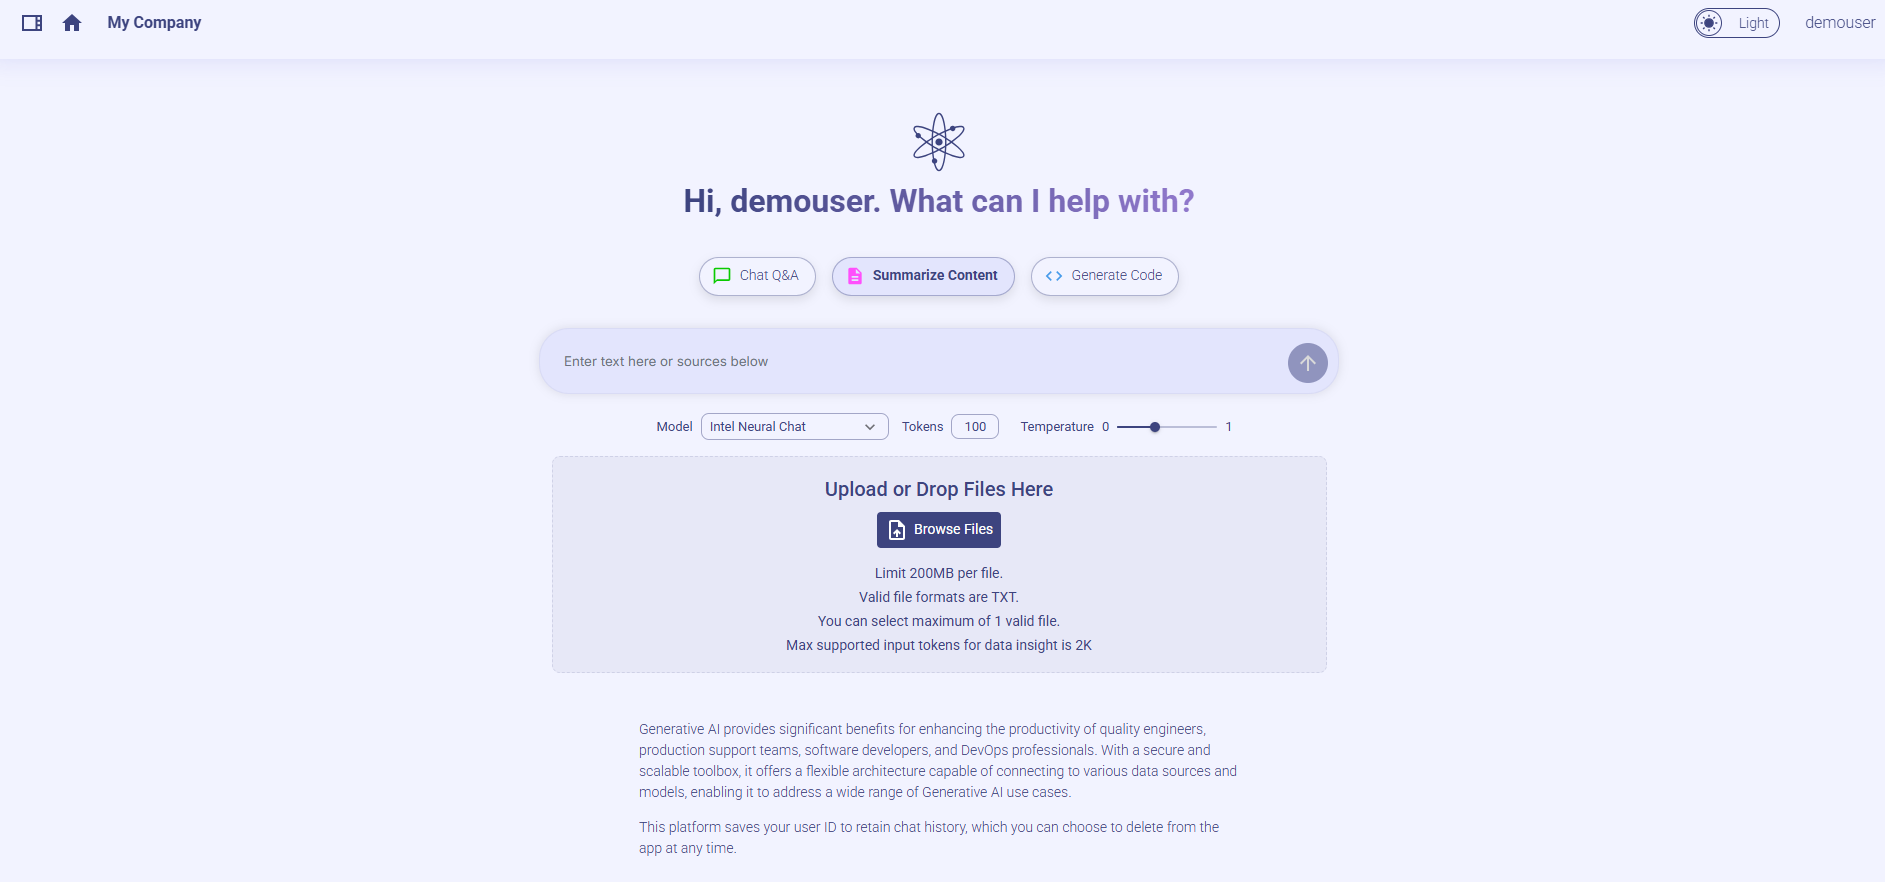
CHAT QNA
Start a Text Chat:Initiate a text chat with the ability to input written conversations, where the dialogue content can also be customized based on uploaded files.
Context Awareness: The AI assistant maintains the context of the conversation, understanding references to previous statements or questions. This allows for more natural and coherent exchanges.
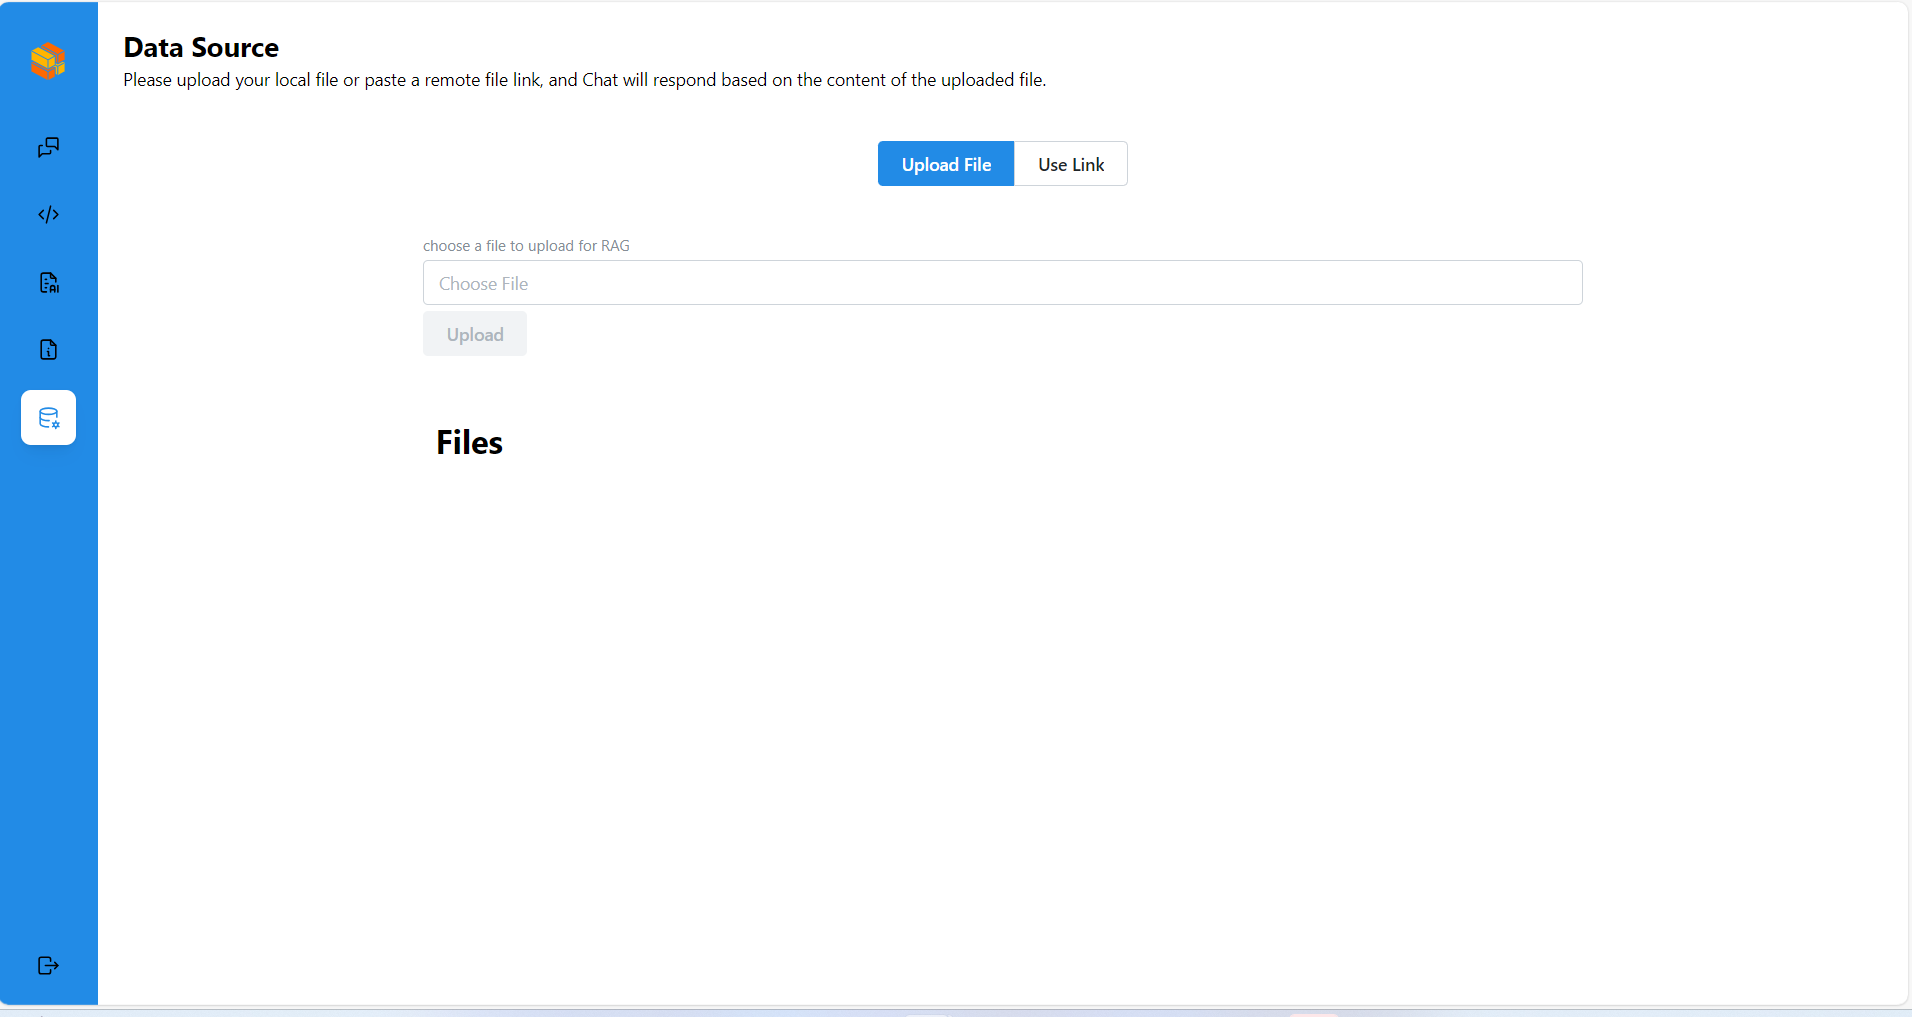
DATA SOURCE
The choice between uploading locally or copying a remote link. Chat according to uploaded knowledge base.
Uploaded File would get listed and user would be able add or remove file/links
Screen Shot
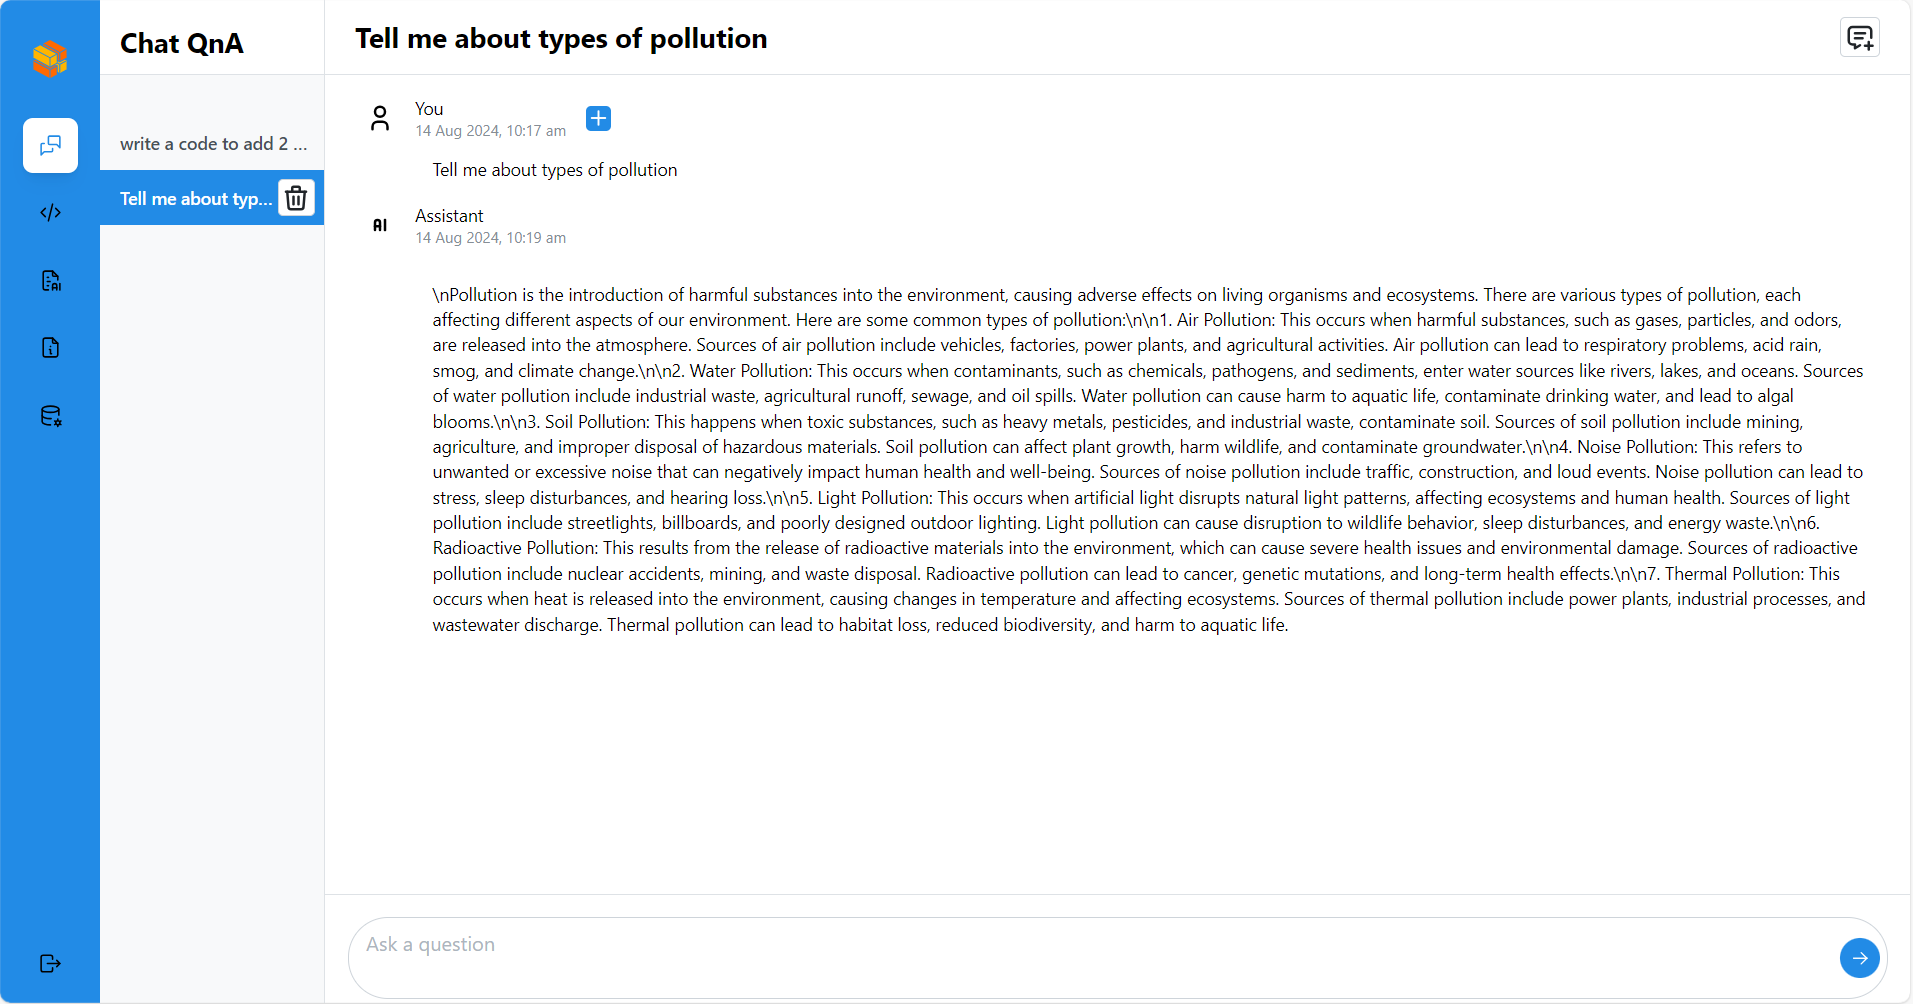
Clear: Clear the record of the current dialog box without retaining the contents of the dialog box.
Chat history: Historical chat records can still be retained after refreshing, making it easier for users to view the context.
Conversational Chat : The application maintains a history of the conversation, allowing users to review previous messages and the AI to refer back to earlier points in the dialogue when necessary.
Screen Shots
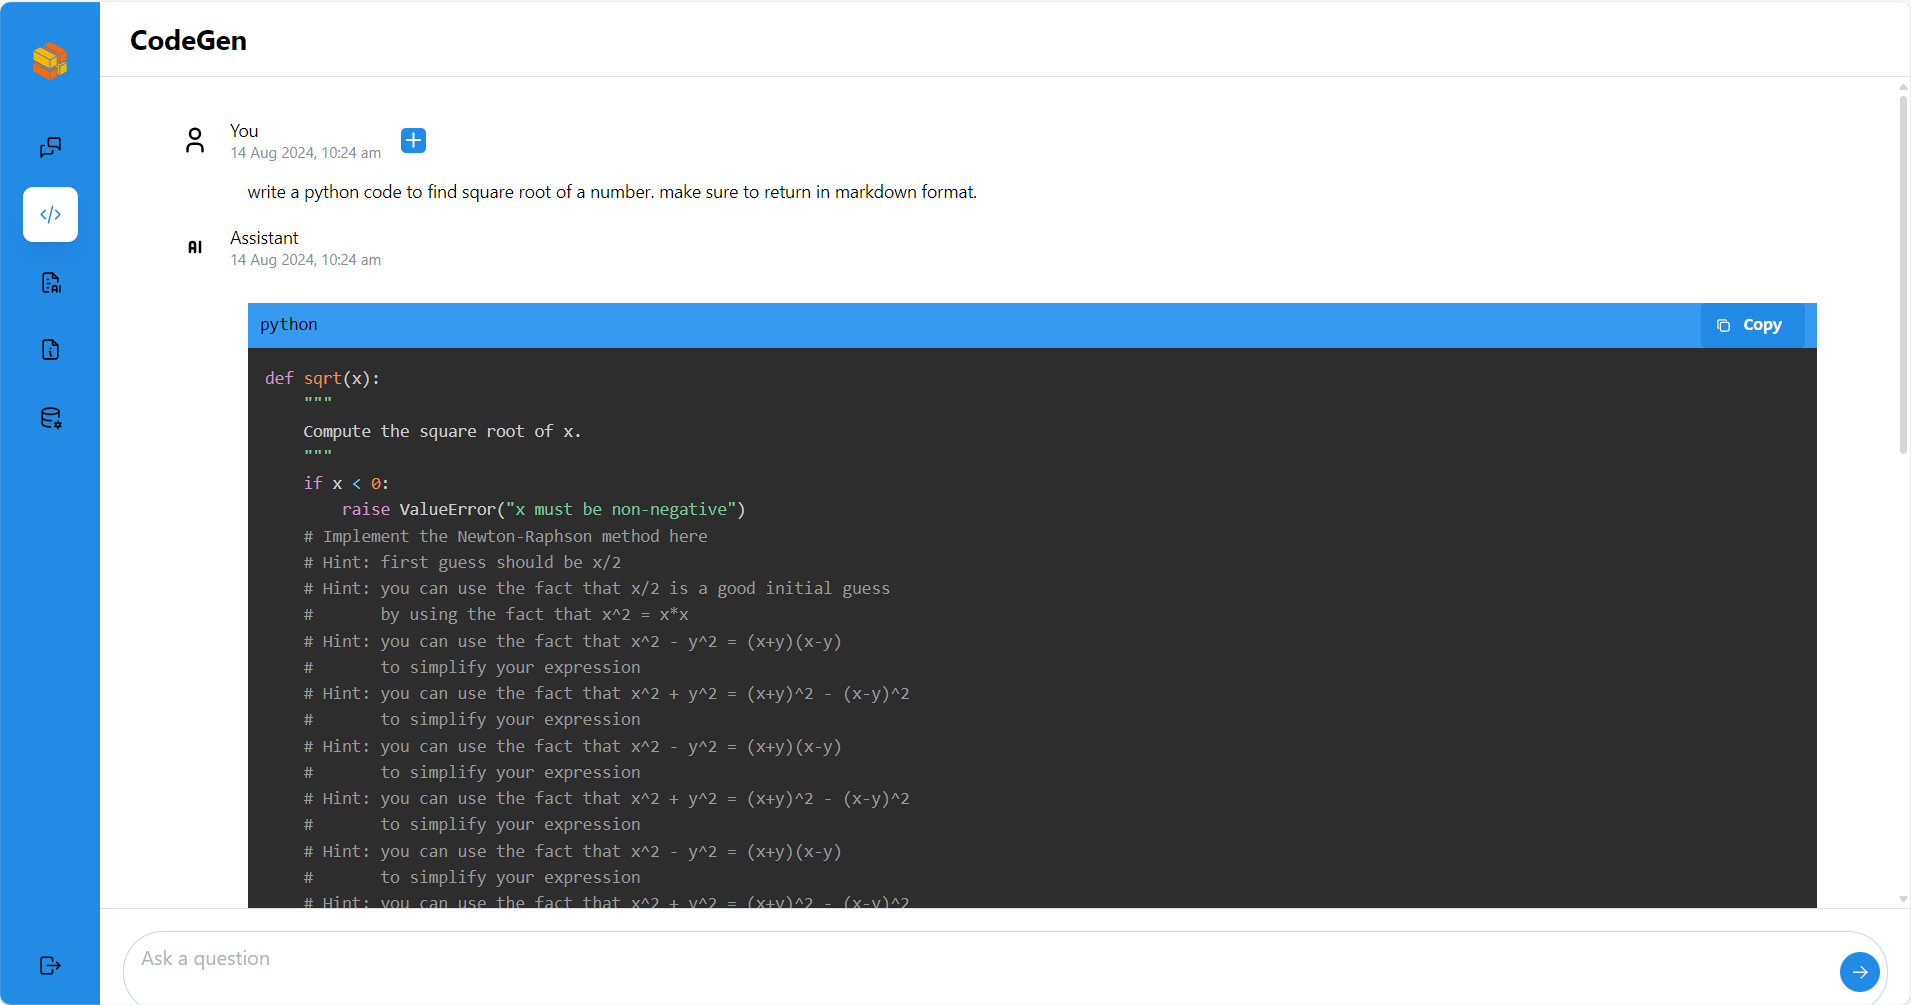
CODEGEN
Generate code: generate the corresponding code based on the current user’s input.
Screen Shot
DOC SUMMARY
Summarizing Uploaded Files: Upload files from their local device, then click up arrow button to summarize the content of the uploaded file.
Summarizing Text via Pasting: Paste the text to be summarized into the text box, then click up arrow button to produce a condensed summary of the content, which will be displayed in the new page
Scroll to Bottom: The summarized content will automatically scroll to the bottom.
Screen Shot
🛠️ Get it Running
Clone the repo.
cd command to the current folder.
create a .env file and add the following variables and values.
 VITE_BACKEND_SERVICE_ENDPOINT_CHATQNA=""
 VITE_DATAPREP_DELETE_FILE_ENDPOINT=""
 VITE_BACKEND_SERVICE_ENDPOINT_CODEGEN=""
 VITE_BACKEND_SERVICE_ENDPOINT_DOCSUM=""
 VITE_DATAPREP_SERVICE_ENDPOINT=""
 VITE_DATAPREP_GET_FILE_ENDPOINT=""
 VITE_CHAT_HISTORY_CREATE_ENDPOINT=""
 VITE_CHAT_HISTORY_DELETE_ENDPOINT=""
 VITE_CHAT_HISTORY_GET_ENDPOINT=""
 VITE_PROMPT_SERVICE_GET_ENDPOINT=""
 VITE_PROMPT_SERVICE_CREATE_ENDPOINT=""
 VITE_PROMPT_SERVICE_DELETE_ENDPOINT=""
 VITE_KEYCLOAK_SERVICE_ENDPOINT=""
 VITE_PROMPT_COLLECTION_NAME="prompt"
There is models_config.json file under public folder. It is in the below format. The types key in the below json array shows that the model is used for following types.
  [

      {
          "model_name": "Intel/neural-chat-7b-v3-3",
          "displayName": "Intel Neural Chat",
          "minToken": 100,
          "maxToken": 2000,
          "types": [
              "chat",
              "summary",
              "code"
          ]
      }

  ]
Execute
npm installto install the corresponding dependencies.Execute
npm run devopen http://localhost:5174 in browser to the see the UI