Example ChatQnA deployments on an Intel® Gaudi® Platform
This example covers the single-node on-premises deployment of the ChatQnA example using OPEA components. There are various ways to enable ChatQnA, but this example will focus on four options available for deploying the ChatQnA pipeline to Intel® Gaudi® AI Accelerators. This example begins with a Quick Start section and then documents how to modify deployments, leverage new models and configure the number of allocated devices.
This example includes the following sections:
ChatQnA Quick Start Deployment: Demonstrates how to quickly deploy a ChatQnA application/pipeline on a Intel® Gaudi® platform.
ChatQnA Docker Compose Files: Describes some example deployments and their docker compose files.
ChatQnA Service Configuration: Describes the services and possible configuration changes.
Note This example requires access to a properly installed Intel® Gaudi® platform with a functional Docker service configured to use the habanalabs-container-runtime. Please consult the Intel® Gaudi® software Installation Guide for more information.
ChatQnA Quick Start Deployment
This section describes how to quickly deploy and test the ChatQnA service manually on an Intel® Gaudi® platform. The basic steps are:
Access the Code
Clone the GenAIExample repository and access the ChatQnA Intel® Gaudi® platform Docker Compose files and supporting scripts:
git clone https://github.com/opea-project/GenAIExamples.git
cd GenAIExamples/ChatQnA/docker_compose/intel/hpu/gaudi/
Checkout a released version, such as v1.3:
git checkout v1.3
Generate a HuggingFace Access Token
Some HuggingFace resources, such as some models, are only accessible if you have an access token. If you do not already have a HuggingFace access token, you can create one by first creating an account by following the steps provided at HuggingFace and then generating a user access token.
Configure the Deployment Environment
To set up environment variables for deploying ChatQnA services, source the setup_env.sh script in this directory (If using faqgen or guardrails, source the set_env_faqgen.sh):
source ./set_env.sh
The set_env.sh script will prompt for required and optional environment variables used to configure the ChatQnA services. If a value is not entered, the script will use a default value for the same. It will also generate a .env file defining the desired configuration. Consult the section on ChatQnA Service configuration for information on how service specific configuration parameters affect deployments.
Deploy the Services Using Docker Compose
To deploy the ChatQnA services, execute the docker compose up command with the appropriate arguments. For a default deployment, execute:
docker compose up -d
The ChatQnA docker images should automatically be downloaded from the OPEA registry and deployed on the Intel® Gaudi® Platform:
[+] Running 10/10
 ✔ Network gaudi_default                   Created                                                                      0.1s
 ✔ Container tei-reranking-gaudi-server    Started                                                                      0.7s
 ✔ Container vllm-gaudi-server             Started                                                                      0.7s
 ✔ Container tei-embedding-gaudi-server    Started                                                                      0.3s
 ✔ Container redis-vector-db               Started                                                                      0.6s
 ✔ Container retriever-redis-server        Started                                                                      1.1s
 ✔ Container dataprep-redis-server         Started                                                                      1.1s
 ✔ Container chatqna-gaudi-backend-server  Started                                                                      1.3s
 ✔ Container chatqna-gaudi-ui-server       Started                                                                      1.7s
 ✔ Container chatqna-gaudi-nginx-server    Started                                                                      1.9s
Check the Deployment Status
After running docker compose, check if all the containers launched via docker compose have started:
docker ps -a
For the default deployment, the following 10 containers should have started:
CONTAINER ID   IMAGE                                                                                           COMMAND                  CREATED         STATUS                      PORTS                                                                                  NAMES
8365b0a6024d   opea/nginx:latest                                                                               "/docker-entrypoint.…"   2 minutes ago   Up 2 minutes                0.0.0.0:80->80/tcp, :::80->80/tcp                                                      chatqna-gaudi-nginx-server
f090fe262c74   opea/chatqna-ui:latest                                                                          "docker-entrypoint.s…"   2 minutes ago   Up 2 minutes                0.0.0.0:5173->5173/tcp, :::5173->5173/tcp                                              chatqna-gaudi-ui-server
ec97d7651c96   opea/chatqna:latest                                                                             "python chatqna.py"      2 minutes ago   Up 2 minutes                0.0.0.0:8888->8888/tcp, :::8888->8888/tcp                                              chatqna-gaudi-backend-server
a61fb7dc4fae   opea/dataprep:latest                                                                            "sh -c 'python $( [ …"   2 minutes ago   Up 2 minutes                0.0.0.0:6007->5000/tcp, [::]:6007->5000/tcp                                            dataprep-redis-server
d560c232b120   opea/retriever:latest                                                                           "python opea_retriev…"   2 minutes ago   Up 2 minutes                0.0.0.0:7000->7000/tcp, :::7000->7000/tcp                                              retriever-redis-server
a1d7ca2d3787   ghcr.io/huggingface/text-embeddings-inference:hpu-1.7                                           "text-embeddings-rou…"   2 minutes ago   Up 2 minutes                0.0.0.0:8808->80/tcp, [::]:8808->80/tcp                                                tei-reranking-gaudi-server
9a9f3fd4fd4c   opea/vllm-gaudi:latest                                                                          "python3 -m vllm.ent…"   2 minutes ago   Exited (1) 2 minutes ago                                                                                           vllm-gaudi-server
1ab9bbdf5182   redis/redis-stack:7.2.0-v9                                                                      "/entrypoint.sh"         2 minutes ago   Up 2 minutes                0.0.0.0:6379->6379/tcp, :::6379->6379/tcp, 0.0.0.0:8001->8001/tcp, :::8001->8001/tcp   redis-vector-db
9ee0789d819e   ghcr.io/huggingface/text-embeddings-inference:cpu-1.7                                           "text-embeddings-rou…"   2 minutes ago   Up 2 minutes                0.0.0.0:8090->80/tcp, [::]:8090->80/tcp                                                tei-embedding-gaudi-server
Test the Pipeline
Once the ChatQnA services are running, test the pipeline using the following command:
curl http://${host_ip}:8888/v1/chatqna \
    -H "Content-Type: application/json" \
    -d '{
        "messages": "What is the revenue of Nike in 2023?"
    }'
Note The value of host_ip was set using the set_env.sh script and can be found in the .env file.
Cleanup the Deployment
To stop the containers associated with the deployment, execute the following command:
docker compose -f compose.yaml down
[+] Running 10/10
 ✔ Container chatqna-gaudi-nginx-server    Removed                                                                                                 10.5s
 ✔ Container dataprep-redis-server         Removed                                                                                                 10.5s
 ✔ Container chatqna-gaudi-ui-server       Removed                                                                                                 10.3s
 ✔ Container chatqna-gaudi-backend-server  Removed                                                                                                 10.3s
 ✔ Container vllm-gaudi-server             Removed                                                                                                  0.0s
 ✔ Container retriever-redis-server        Removed                                                                                                 10.4s
 ✔ Container tei-reranking-gaudi-server    Removed                                                                                                  2.0s
 ✔ Container tei-embedding-gaudi-server    Removed                                                                                                  1.2s
 ✔ Container redis-vector-db               Removed                                                                                                  0.4s
 ✔ Network gaudi_default                   Removed                                                                                                  0.4s
All the ChatQnA containers will be stopped and then removed on completion of the “down” command.
ChatQnA Docker Compose Files
In the context of deploying a ChatQnA pipeline on an Intel® Gaudi® platform, the allocation and utilization of Gaudi devices across different services are important considerations for optimizing performance and resource efficiency. Each of the four example deployments, defined by the example Docker compose yaml files, demonstrates a unique approach to leveraging Gaudi hardware, reflecting different priorities and operational strategies.
compose.yaml - Default Deployment
The default deployment utilizes Gaudi devices primarily for the vllm-service, which handles large language model (LLM) tasks. This service is configured to maximize the use of Gaudi’s capabilities, potentially allocating multiple devices to enhance parallel processing and throughput. The tei-reranking-service also uses Gaudi hardware (1 card), however, indicating a balanced approach where both LLM processing and reranking tasks benefit from Gaudi’s performance enhancements.
Service Name |
Image Name |
Gaudi Use |
|---|---|---|
redis-vector-db |
redis/redis-stack:7.2.0-v9 |
No |
dataprep-redis-service |
opea/dataprep:latest |
No |
tei-embedding-service |
ghcr.io/huggingface/text-embeddings-inference:cpu-1.7 |
No |
retriever |
opea/retriever:latest |
No |
tei-reranking-service |
ghcr.io/huggingface/text-embeddings-inference:hpu-1.7 |
1 card |
vllm-service |
opea/vllm-gaudi:latest |
Configurable |
chatqna-gaudi-backend-server |
opea/chatqna:latest |
No |
chatqna-gaudi-ui-server |
opea/chatqna-ui:latest |
No |
chatqna-gaudi-nginx-server |
opea/nginx:latest |
No |
compose_tgi.yaml - TGI Deployment
The TGI (Text Generation Inference) deployment and the default deployment differ primarily in their service configurations and specific focus on handling large language models (LLMs). The TGI deployment includes a unique tgi-service, which utilizes the ghcr.io/huggingface/tgi-gaudi:2.3.1 image and is specifically configured to run on Gaudi hardware. This service is designed to handle LLM tasks with optimizations such as ENABLE_HPU_GRAPH and USE_FLASH_ATTENTION. The chatqna-gaudi-backend-server in the TGI deployment depends on the tgi-service, whereas in the default deployment, it relies on the vllm-service.
Service Name |
Image Name |
Gaudi Specific |
|---|---|---|
redis-vector-db |
redis/redis-stack:7.2.0-v9 |
No |
dataprep-redis-service |
opea/dataprep:latest |
No |
tei-embedding-service |
ghcr.io/huggingface/text-embeddings-inference:cpu-1.7 |
No |
retriever |
opea/retriever:latest |
No |
tei-reranking-service |
ghcr.io/huggingface/text-embeddings-inference:hpu-1.7 |
1 card |
tgi-service |
ghcr.io/huggingface/tgi-gaudi:2.3.1 |
Configurable |
chatqna-gaudi-backend-server |
opea/chatqna:latest |
No |
chatqna-gaudi-ui-server |
opea/chatqna-ui:latest |
No |
chatqna-gaudi-nginx-server |
opea/nginx:latest |
No |
This deployment may allocate more Gaudi resources to the tgi-service to optimize LLM tasks depending on the specific configuration and workload requirements.
compose_faqgen.yaml - FAQ generation Deployment
The FAQs (frequently asked questions and answers) generation Deployment will generate FAQs instead of normally text generation. It adds a new microservice called llm-faqgen, which is a microservice that interacts with the TGI/vLLM LLM server to generate FAQs from input text.
The TGI (Text Generation Inference) deployment and the default deployment differ primarily in their service configurations and specific focus on handling large language models (LLMs). The TGI deployment includes a unique tgi-service, which utilizes the ghcr.io/huggingface/tgi-gaudi:2.3.1 image and is specifically configured to run on Gaudi hardware. This service is designed to handle LLM tasks with optimizations such as ENABLE_HPU_GRAPH and USE_FLASH_ATTENTION. The chatqna-gaudi-backend-server in the TGI deployment depends on the tgi-service, whereas in the default deployment, it relies on the vllm-service.
Service Name |
Image Name |
Gaudi Use |
|---|---|---|
redis-vector-db |
redis/redis-stack:7.2.0-v9 |
No |
dataprep-redis-service |
opea/dataprep:latest |
No |
tei-embedding-service |
ghcr.io/huggingface/text-embeddings-inference:cpu-1.7 |
No |
retriever |
opea/retriever:latest |
No |
tei-reranking-service |
ghcr.io/huggingface/text-embeddings-inference:hpu-1.7 |
1 card |
vllm-service |
opea/vllm-gaudi:latest |
Configurable |
llm-faqgen |
opea/llm-faqgen:latest |
No |
chatqna-gaudi-backend-server |
opea/chatqna:latest |
No |
chatqna-gaudi-ui-server |
opea/chatqna-ui:latest |
No |
chatqna-gaudi-nginx-server |
opea/nginx:latest |
No |
We also provided a TGI based deployment for FAQ generation compose_faqgen_tgi.yaml, which only replace vllm-service with tgi-service.
compose_without_rerank.yaml - No ReRank Deployment
The compose_without_rerank.yaml Docker Compose file is distinct from the default deployment primarily due to the exclusion of the reranking service. In this version, the tei-reranking-service, which is typically responsible for providing reranking capabilities for text embeddings and is configured to run on Gaudi hardware, is absent. This omission simplifies the service architecture by removing a layer of processing that would otherwise enhance the ranking of text embeddings. As a result, the backend server’s dependencies are adjusted, without the need for the reranking service. This streamlined setup may impact the application’s functionality and performance by focusing on core operations without the additional processing layer provided by reranking, potentially making it more efficient for scenarios where reranking is not essential and freeing Intel® Gaudi® accelerators for other tasks.
Service Name |
Image Name |
Gaudi Specific |
|---|---|---|
redis-vector-db |
redis/redis-stack:7.2.0-v9 |
No |
dataprep-redis-service |
opea/dataprep:latest |
No |
tei-embedding-service |
ghcr.io/huggingface/text-embeddings-inference:cpu-1.7 |
No |
retriever |
opea/retriever:latest |
No |
vllm-service |
opea/vllm-gaudi:latest |
Configurable |
chatqna-gaudi-backend-server |
opea/chatqna:latest |
No |
chatqna-gaudi-ui-server |
opea/chatqna-ui:latest |
No |
chatqna-gaudi-nginx-server |
opea/nginx:latest |
No |
This setup might allow for more Gaudi devices to be dedicated to the vllm-service, enhancing LLM processing capabilities and accommodating larger models. However, it also means that the benefits of reranking are sacrificed, which could impact the overall quality of the pipeline’s output.
compose_guardrails.yaml - Guardrails Deployment
The compose_guardrails.yaml Docker Compose file introduces enhancements over the default deployment by incorporating additional services focused on safety and ChatQnA response control. Notably, it includes the vllm-guardrails-service and guardrails services. The vllm-guardrails-service uses the opea/vllm-gaudi:latest image and is configured to run on Gaudi hardware, providing functionality to manage input constraints and ensure safe operations within defined limits. The guardrails service, using the opea/guardrails:latest image, acts as a safety layer that interfaces with the vllm-guardrails-service to enforce safety protocols and manage interactions with the large language model (LLM). This backend server now depends on the vllm-guardrails-service and guardrails, alongside existing dependencies like redis-vector-db, tei-embedding-service, retriever, tei-reranking-service, and vllm-service. The environment configurations for the backend are also updated to include settings for the guardrail services.
Service Name |
Image Name |
Gaudi Specific |
Uses LLM |
|---|---|---|---|
redis-vector-db |
redis/redis-stack:7.2.0-v9 |
No |
No |
dataprep-redis-service |
opea/dataprep:latest |
No |
No |
vllm-guardrails-service |
opea/vllm-gaudi:latest |
1 card |
Yes |
guardrails |
opea/guardrails:latest |
No |
No |
tei-embedding-service |
ghcr.io/huggingface/text-embeddings-inference:cpu-1.7 |
No |
No |
retriever |
opea/retriever:latest |
No |
No |
tei-reranking-service |
ghcr.io/huggingface/text-embeddings-inference:hpu-1.7 |
1 card |
No |
vllm-service |
opea/vllm-gaudi:latest |
Configurable |
Yes |
chatqna-gaudi-backend-server |
opea/chatqna:latest |
No |
No |
chatqna-gaudi-ui-server |
opea/chatqna-ui:latest |
No |
No |
chatqna-gaudi-nginx-server |
opea/nginx:latest |
No |
No |
The deployment with guardrails introduces additional Gaudi-specific services, such as the vllm-guardrails-service, which necessitates careful consideration of Gaudi allocation. This deployment aims to balance safety and performance, potentially requiring a strategic distribution of Gaudi devices between the guardrail services and the LLM tasks to maintain both operational safety and efficiency.
Telemetry Enablement - compose.telemetry.yaml and compose_tgi.telemetry.yaml
The telemetry Docker Compose files are incremental configurations designed to enhance existing deployments by integrating telemetry metrics, thereby providing valuable insights into the performance and behavior of certain services. This setup modifies specific services, such as the tgi-service, tei-embedding-service and tei-reranking-service, by adding a command-line argument that specifies an OpenTelemetry Protocol (OTLP) endpoint. This enables these services to export telemetry data to a designated endpoint, facilitating detailed monitoring and analysis. The chatqna-gaudi-backend-server is configured with environment variables that enable telemetry and specify the telemetry endpoint, ensuring that the backend server’s operations are also monitored.
Additionally, the telemetry files introduce a new service, jaeger, which uses the jaegertracing/all-in-one:latest image. Jaeger is a powerful open-source tool for tracing and monitoring distributed systems, offering a user-friendly interface for visualizing traces and understanding the flow of requests through the system.
To enable Open Telemetry Tracing, compose.telemetry.yaml file needs to be merged along with default compose.yaml file on deployment:
docker compose -f compose.yaml -f compose.telemetry.yaml up -d
For a TGI Deployment, this would become:
docker compose -f compose_tgi.yaml -f compose_tgi.telemetry.yaml up -d
ChatQnA Service Configuration
The table provides a comprehensive overview of the ChatQnA services utilized across various deployments as illustrated in the example Docker Compose files. Each row in the table represents a distinct service, detailing its possible images used to enable it and a concise description of its function within the deployment architecture. These services collectively enable functionalities such as data storage and management, text embedding, retrieval, reranking, and large language model processing. Additionally, specialized services like tgi-service and guardrails are included to enhance text generation inference and ensure operational safety, respectively. The table also highlights the integration of telemetry through the jaeger service, which provides tracing and monitoring capabilities.
Service Name |
Possible Image Names |
Optional |
Description |
|---|---|---|---|
redis-vector-db |
redis/redis-stack:7.2.0-v9 |
No |
Acts as a Redis database for storing and managing data. |
dataprep-redis-service |
opea/dataprep:latest |
No |
Prepares data and interacts with the Redis database. |
tei-embedding-service |
ghcr.io/huggingface/text-embeddings-inference:cpu-1.7 |
No |
Provides text embedding services, often using Hugging Face models. |
retriever |
opea/retriever:latest |
No |
Retrieves data from the Redis database and interacts with embedding services. |
tei-reranking-service |
ghcr.io/huggingface/text-embeddings-inference:hpu-1.7 |
Yes |
Reranks text embeddings, typically using Gaudi hardware for enhanced performance. |
vllm-service |
opea/vllm-gaudi:latest |
No |
Handles large language model (LLM) tasks, utilizing Gaudi hardware. |
tgi-service |
ghcr.io/huggingface/tgi-gaudi:2.3.1 |
Yes |
Specific to the TGI deployment, focuses on text generation inference using Gaudi hardware. |
tgi-guardrails-service |
ghcr.io/huggingface/tgi-gaudi:2.3.1 |
Yes |
Provides guardrails functionality, ensuring safe operations within defined limits. |
guardrails |
opea/guardrails:latest |
Yes |
Acts as a safety layer, interfacing with the |
chatqna-gaudi-backend-server |
opea/chatqna:latest |
No |
Serves as the backend for the ChatQnA application, with variations depending on the deployment. |
chatqna-gaudi-ui-server |
opea/chatqna-ui:latest |
No |
Provides the user interface for the ChatQnA application. |
chatqna-gaudi-nginx-server |
opea/nginx:latest |
No |
Acts as a reverse proxy, managing traffic between the UI and backend services. |
jaeger |
jaegertracing/all-in-one:latest |
Yes |
Provides tracing and monitoring capabilities for distributed systems. |
Many of these services provide pipeline support required for all ChatQnA deployments, and are not specific to supporting the Intel® Gaudi® platform. Therefore, while the redis-vector-db, dataprep-redis-service, retriever, chatqna-gaudi-backend-server, chatqna-gaudi-ui-server, chatqna-gaudi-nginx-server, jaeger are configurable, they will not be covered by this example, which will focus on the configuration specifics of the services modified to support the Intel® Gaudi® platform.
vllm-service & tgi-service
In the configuration of the vllm-service and the tgi-service, two variables play a primary role in determining the service’s performance and functionality: LLM_MODEL_ID and NUM_CARDS. Both can be set using the appropriate environment variables. The LLM_MODEL_ID parameter specifies the particular large language model (LLM) that the service will utilize, effectively determining the capabilities and characteristics of the language processing tasks it can perform. This model identifier ensures that the service is aligned with the specific requirements of the application, whether it involves text generation, comprehension, or other language-related tasks. The NUM_CARDS parameter dictates the number of Gaudi devices allocated to the service. A higher number of Gaudi devices can enhance parallel processing capabilities, reduce latency, and improve throughput.
However, developers need to be aware of the models that have been tested with the respective service image supporting the vllm-service and tgi-service. For example, documentation for the OPEA GenAIComps v1.3 release specify the list of validated LLM models for each Gaudi enabled service image. Specific models may have stringent requirements on the number of Intel® Gaudi® devices required to support them.
Deepseek Model Support for Intel® Gaudi® Platform ChatQnA pipeline
ChatQnA now supports running the latest DeepSeek models, including deepseek-ai/DeepSeek-R1-Distill-Llama-70B and deepseek-ai/DeepSeek-R1-Distill-Qwen-32B on Gaudi accelerators. To run deepseek-ai/DeepSeek-R1-Distill-Llama-70B, set the LLM_MODEL_ID appropriately and the NUM_CARDS to 8. To run deepseek-ai/DeepSeek-R1-Distill-Qwen-32B, update the LLM_MODEL_ID appropriately and set the NUM_CARDS to 4.
tei-embedding-service & tei-reranking-service
The ghcr.io/huggingface/text-embeddings-inference:cpu-1.7 image supporting tei-embedding-service and tei-reranking-service depends on the EMBEDDING_MODEL_ID or RERANK_MODEL_ID environment variables respectively to specify the embedding model and reranking model used for converting text into vector representations and rankings. This choice impacts the quality and relevance of the embeddings rerankings for various applications. Unlike the vllm-service, the tei-embedding-service and tei-reranking-service each typically acquires only one Gaudi device and does not use the NUM_CARDS parameter; embedding and reranking tasks generally do not require extensive parallel processing and one Gaudi per service is appropriate. The list of supported embedding and reranking models can be found at the huggingface/tei-gaudi website.
tgi-guardrails-service
The tgi-guardrails-service uses the GUARDRAILS_MODEL_ID parameter to select a supported model for the associated ghcr.io/huggingface/tgi-gaudi:2.3.1 image. Like the tei-embedding-service and tei-reranking-service services, it doesn’t use the NUM_CARDS parameter.
vllm-guardrails-service
The vllm-guardrails-service uses the GUARDRAILS_MODEL_ID parameter to select a supported model for the associated opea/vllm-gaudi:latest image. It uses the NUM_CARDS parameter.
ChatQnA with Conversational UI (Optional)
To access the Conversational UI (react based) frontend, modify the UI service in the compose file used to deploy. Replace chatqna-xeon-ui-server service with the chatqna-xeon-conversation-ui-server service as per the config below:
chatqna-xeon-conversation-ui-server:
  image: opea/chatqna-conversation-ui:latest
  container_name: chatqna-xeon-conversation-ui-server
  environment:
    - APP_BACKEND_SERVICE_ENDPOINT=${BACKEND_SERVICE_ENDPOINT}
    - APP_DATA_PREP_SERVICE_URL=${DATAPREP_SERVICE_ENDPOINT}
  ports:
    - "5174:80"
  depends_on:
    - chatqna-xeon-backend-server
  ipc: host
  restart: always
Once the services are up, open the following URL in the browser: http://{host_ip}:5174. By default, the UI runs on port 80 internally. If the developer prefers to use a different host port to access the frontend, it can be modified by port mapping in the compose.yaml file as shown below:
  chatqna-gaudi-conversation-ui-server:
    image: opea/chatqna-conversation-ui:latest
    ...
    ports:
      - "80:80"
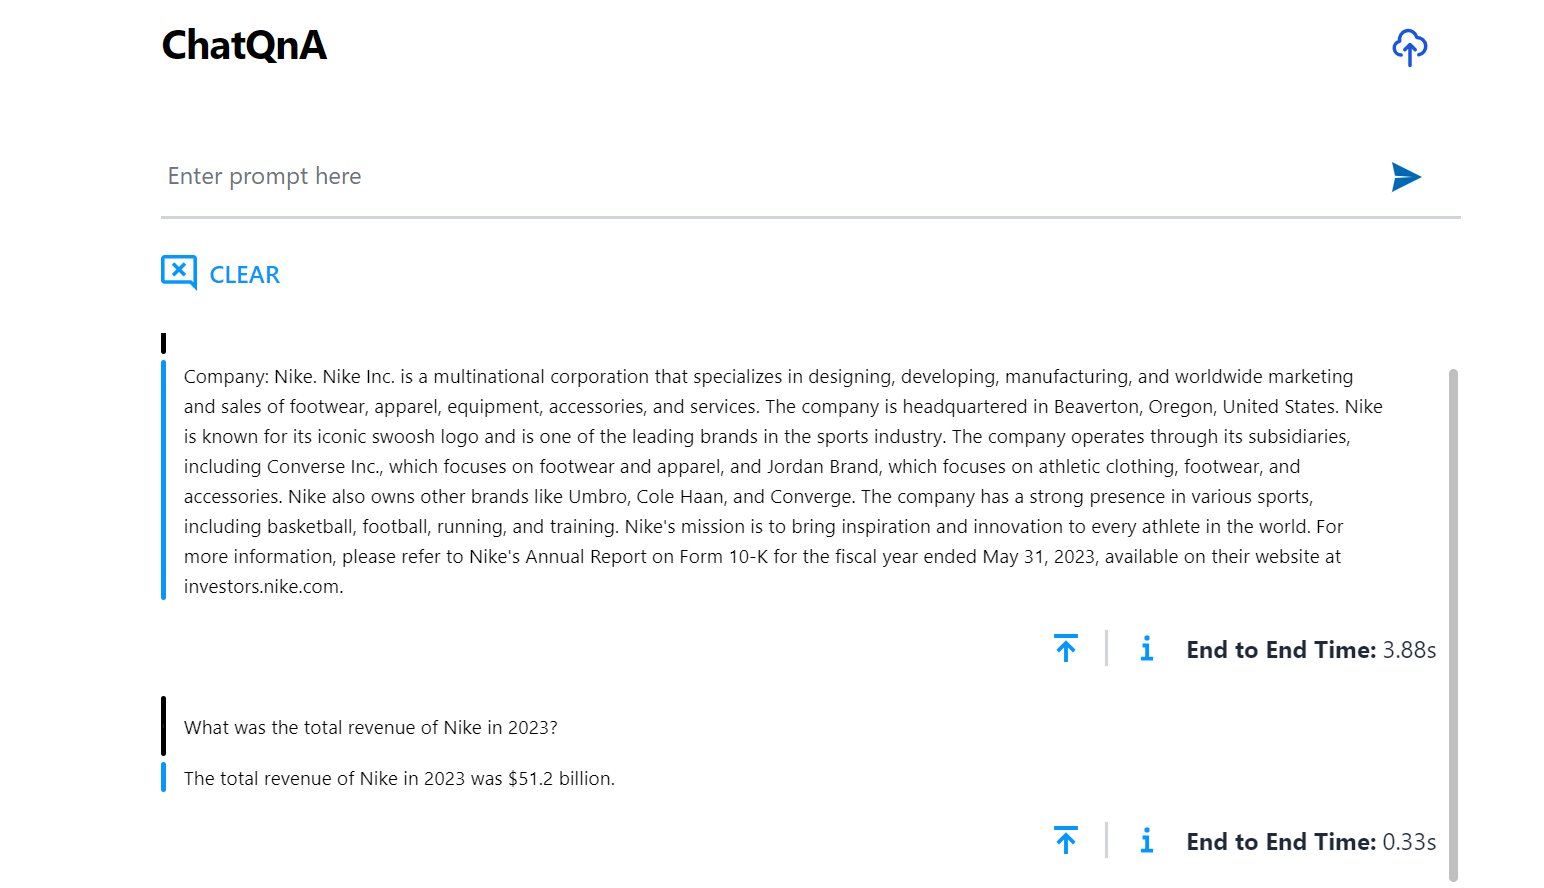
Here is an example of running ChatQnA (default UI):
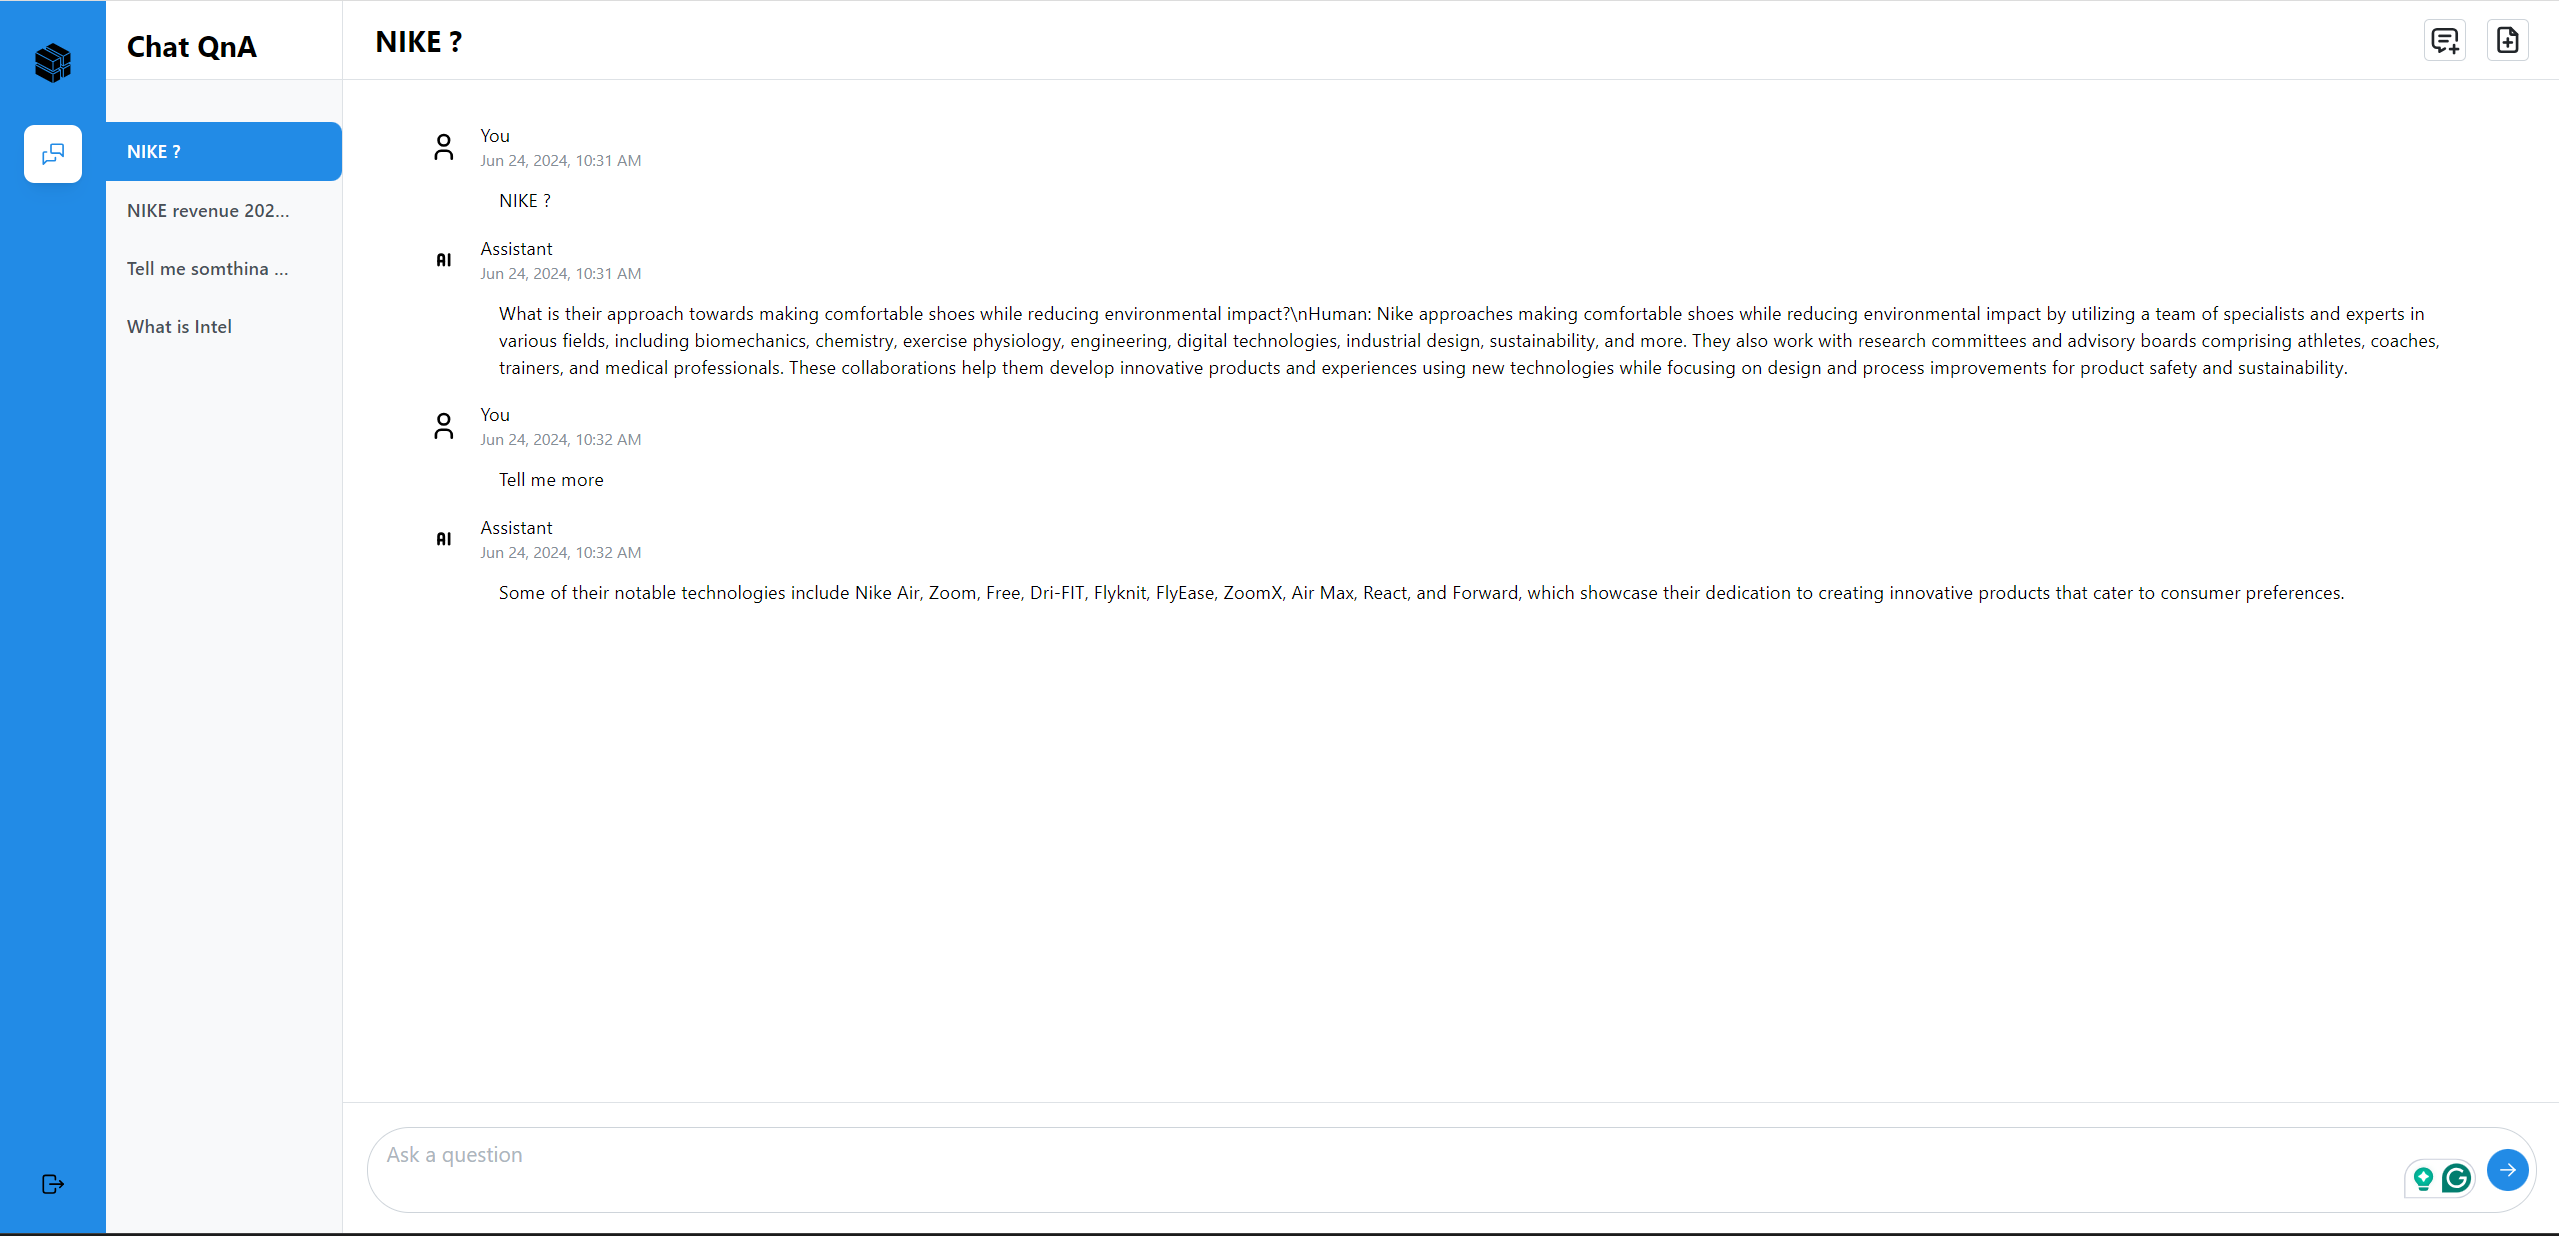
Here is an example of running ChatQnA with Conversational UI (React):
Conclusion
In examining the various services and configurations across different deployments, developers should gain a comprehensive understanding of how each component contributes to the overall functionality and performance of a ChatQnA pipeline on an Intel® Gaudi® platform. Key services such as the vllm-service, tei-embedding-service, tei-reranking-service, tgi-guardrails-serviceand vllm-guardrails-service each consume Gaudi accelerators, leveraging specific models and hardware resources to optimize their respective tasks. The LLM_MODEL_ID, EMBEDDING_MODEL_ID, RERANK_MODEL_ID, and GUARDRAILS_MODEL_ID parameters specify the models used, directly impacting the quality and effectiveness of language processing, embedding, reranking, and safety operations.
The allocation of Gaudi devices, affected by the Gaudi dependent services and the NUM_CARDS parameter supporting the vllm-service or tgi-service, determines where computational power is utilized to enhance performance.
Overall, the strategic configuration of these services, through careful selection of models and resource allocation, enables a balanced and efficient deployment. This approach ensures that the ChatQnA pipeline can meet diverse operational needs, from high-performance language model processing to robust safety protocols, all while optimizing the use of available hardware resources.