Deploying ChatQnA on Intel® Xeon® Processors
This document outlines the single node deployment process for a ChatQnA application utilizing the GenAIComps microservices on Intel Xeon server. The steps include pulling Docker images, container deployment via Docker Compose, and service execution to integrate microservices such as embedding, retriever, rerank and llm.
Table of contents
ChatQnA Quick Start Deployment
This section describes how to quickly deploy and test the ChatQnA service manually on an Intel® Xeon® processor. The basic steps are:
Access the Code
Clone the GenAIExample repository and access the ChatQnA Intel® Gaudi® platform Docker Compose files and supporting scripts:
git clone https://github.com/opea-project/GenAIExamples.git
cd GenAIExamples/ChatQnA/docker_compose/intel/cpu/xeon/
Checkout a released version, such as v1.3:
git checkout v1.3
Generate a HuggingFace Access Token
Some HuggingFace resources, such as some models, are only accessible if the developer have an access token. In the absence of a HuggingFace access token, the developer can create one by first creating an account by following the steps provided at HuggingFace and then generating a user access token.
Configure the Deployment Environment
To set up environment variables for deploying ChatQnA services, set up some parameters specific to the deployment environment and source the setup_env.sh script in this directory:
export host_ip="External_Public_IP"           #ip address of the node
export HF_TOKEN="Your_Huggingface_API_Token"
export http_proxy="Your_HTTP_Proxy"           #http proxy if any
export https_proxy="Your_HTTPs_Proxy"         #https proxy if any
export no_proxy=localhost,127.0.0.1,$host_ip  #additional no proxies if needed
export no_proxy=$no_proxy,chatqna-xeon-ui-server,chatqna-xeon-backend-server,dataprep-redis-service,tei-embedding-service,retriever,tei-reranking-service,tgi-service,vllm-service,llm-faqgen
source ./set_env.sh
Consult the section on ChatQnA Service configuration for information on how service specific configuration parameters affect deployments.
Deploy the Services Using Docker Compose
To deploy the ChatQnA services, execute the docker compose up command with the appropriate arguments. For a default deployment, execute the command below. It uses the ‘compose.yaml’ file.
docker compose up -d
To enable Open Telemetry Tracing, compose.telemetry.yaml file need to be merged along with default compose.yaml file.
CPU example with Open Telemetry feature:
NOTE : To get supported Grafana Dashboard, please run download_opea_dashboard.sh following below commands.
./grafana/dashboards/download_opea_dashboard.sh
docker compose -f compose.yaml -f compose.telemetry.yaml up -d
To enable Xeon Optimization like AMX or Tensor Parallel for vLLM, compose.perf.yaml file need to be merged along with default compose.yaml file.
CPU example with optimized vLLM feature:
docker compose -f compose.yaml -f compose.perf.yaml up -d
Note: developers should build docker image from source when:
Developing off the git main branch (as the container’s ports in the repo may be different from the published docker image).
Unable to download the docker image.
Use a specific version of Docker image.
Please refer to the table below to build different microservices from source:
Microservice |
Deployment Guide |
|---|---|
Dataprep |
https://github.com/opea-project/GenAIComps/tree/main/comps/dataprep |
Embedding |
https://github.com/opea-project/GenAIComps/tree/main/comps/embeddings |
Retriever |
https://github.com/opea-project/GenAIComps/tree/main/comps/retrievers |
Reranker |
https://github.com/opea-project/GenAIComps/tree/main/comps/rerankings |
LLM |
https://github.com/opea-project/GenAIComps/tree/main/comps/llms |
Megaservice |
|
UI |
Check the Deployment Status
After running docker compose, check if all the containers launched via docker compose have started:
docker ps -a
For the default deployment, the following 10 containers should have started:
CONTAINER ID   IMAGE                                                   COMMAND                  CREATED        STATUS        PORTS                                                                                  NAMES
3b5fa9a722da   opea/chatqna-ui:${RELEASE_VERSION}                                  "docker-entrypoint.s…"   32 hours ago   Up 2 hours   0.0.0.0:5173->5173/tcp, :::5173->5173/tcp                                              chatqna-xeon-ui-server
d3b37f3d1faa   opea/chatqna:${RELEASE_VERSION}                                     "python chatqna.py"      32 hours ago   Up 2 hours   0.0.0.0:8888->8888/tcp, :::8888->8888/tcp                                              chatqna-xeon-backend-server
b3e1388fa2ca   opea/reranking-tei:${RELEASE_VERSION}                               "python reranking_te…"   32 hours ago   Up 2 hours   0.0.0.0:8000->8000/tcp, :::8000->8000/tcp                                              reranking-tei-xeon-server
24a240f8ad1c   opea/retriever-redis:${RELEASE_VERSION}                             "python retriever_re…"   32 hours ago   Up 2 hours   0.0.0.0:7000->7000/tcp, :::7000->7000/tcp                                              retriever-redis-server
9c0d2a2553e8   opea/embedding-tei:${RELEASE_VERSION}                               "python embedding_te…"   32 hours ago   Up 2 hours   0.0.0.0:6000->6000/tcp, :::6000->6000/tcp                                              embedding-tei-server
24cae0db1a70   opea/llm-vllm:${RELEASE_VERSION}                                    "bash entrypoint.sh"     32 hours ago   Up 2 hours   0.0.0.0:9000->9000/tcp, :::9000->9000/tcp                                              llm-vllm-server
ea3986c3cf82   opea/dataprep-redis:${RELEASE_VERSION}                              "python prepare_doc_…"   32 hours ago   Up 2 hours   0.0.0.0:6007->6007/tcp, :::6007->6007/tcp                                              dataprep-redis-server
e10dd14497a8   redis/redis-stack:7.2.0-v9                              "/entrypoint.sh"         32 hours ago   Up 2 hours   0.0.0.0:6379->6379/tcp, :::6379->6379/tcp, 0.0.0.0:8001->8001/tcp, :::8001->8001/tcp   redis-vector-db
b98fa07a4f5c   opea/vllm:${RELEASE_VERSION}                                        "python3 -m vllm.ent…"   32 hours ago   Up 2 hours   0.0.0.0:9009->80/tcp, :::9009->80/tcp                                                  vllm-service
79276cf45a47   ghcr.io/huggingface/text-embeddings-inference:cpu-1.2   "text-embeddings-rou…"   32 hours ago   Up 2 hours   0.0.0.0:6006->80/tcp, :::6006->80/tcp                                                  tei-embedding-server
4943e5f6cd80   ghcr.io/huggingface/text-embeddings-inference:cpu-1.2   "text-embeddings-rou…"   32 hours ago   Up 2 hours   0.0.0.0:8808->80/tcp, :::8808->80/tcp
If any issues are encountered during deployment, refer to the troubleshooting section.
Test the Pipeline
Once the ChatQnA services are running, test the pipeline using the following command. This will send a sample query to the ChatQnA service and return a response.
curl http://${host_ip}:8888/v1/chatqna \
    -H "Content-Type: application/json" \
    -d '{
        "messages": "What is the revenue of Nike in 2023?"
    }'
Note : Access the ChatQnA UI by web browser through this URL: http://${host_ip}:80. Please confirm the 80 port is opened in the firewall. To validate each microservice used in the pipeline refer to the Validate microservices section.
Cleanup the Deployment
To stop the containers associated with the deployment, execute the following command:
docker compose -f compose.yaml down
ChatQnA Docker Compose Files
In the context of deploying a ChatQnA pipeline on an Intel® Xeon® platform, we can pick and choose different vector databases, large language model serving frameworks, and remove pieces of the pipeline such as the reranker. The table below outlines the various configurations that are available as part of the application. These configurations can be used as templates and can be extended to different components available in GenAIComps.
File |
Description |
|---|---|
Default compose file using vllm as serving framework and redis as vector database |
|
Default compose file using remote inference endpoints and redis as vector database |
|
Uses Milvus as the vector database. All other configurations remain the same as the default |
|
Uses Pinecone as the vector database. All other configurations remain the same as the default. For more details, refer to README_pinecone.md. |
|
Uses Qdrant as the vector database. All other configurations remain the same as the default. For more details, refer to README_qdrant.md. |
|
Uses TGI as the LLM serving framework. All other configurations remain the same as the default |
|
Default configuration without the reranker |
|
Enables FAQ generation using vLLM as the LLM serving framework. For more details, refer to README_faqgen.md. |
|
Enables FAQ generation using TGI as the LLM serving framework. For more details, refer to README_faqgen.md. |
|
Helper file for telemetry features for vllm. Can be used along with any compose files that serves vllm |
|
Helper file for telemetry features for tgi. Can be used along with any compose files that serves tgi |
|
Uses MariaDB Server as the vector database. All other configurations remain the same as the default |
Running LLM models with remote endpoints
When models are deployed on a remote server, a base URL and an API key are required to access them. To set up a remote server and acquire the base URL and API key, refer to Intel® AI for Enterprise Inference offerings.
Set the following environment variables.
REMOTE_ENDPOINTis the HTTPS endpoint of the remote server with the model of choice (i.e. https://api.example.com). Note: If the API for the models does not use LiteLLM, the second part of the model card needs to be appended to the URL. For example, setREMOTE_ENDPOINTto https://api.example.com/Llama-3.3-70B-Instruct if the model card ismeta-llama/Llama-3.3-70B-Instruct.API_KEYis the access token or key to access the model(s) on the server.LLM_MODEL_IDis the model card which may need to be overwritten depending on what it is set toset_env.sh.
export REMOTE_ENDPOINT=<https-endpoint-of-remote-server>
export API_KEY=<your-api-key>
export LLM_MODEL_ID=<model-card>
After setting these environment variables, run docker compose with compose_remote.yaml:
docker compose -f compose_remote.yaml up -d
ChatQnA with Conversational UI (Optional)
To access the Conversational UI (react based) frontend, modify the UI service in the compose file used to deploy. Replace chatqna-xeon-ui-server service with the chatqna-xeon-conversation-ui-server service as per the config below:
chatqna-xeon-conversation-ui-server:
  image: opea/chatqna-conversation-ui:latest
  container_name: chatqna-xeon-conversation-ui-server
  environment:
    - APP_BACKEND_SERVICE_ENDPOINT=${BACKEND_SERVICE_ENDPOINT}
    - APP_DATA_PREP_SERVICE_URL=${DATAPREP_SERVICE_ENDPOINT}
  ports:
    - "5174:80"
  depends_on:
    - chatqna-xeon-backend-server
  ipc: host
  restart: always
Once the services are up, open the following URL in the browser: http://{host_ip}:5174. By default, the UI runs on port 80 internally. If the developer prefers to use a different host port to access the frontend, it can be modified by port mapping in the compose.yaml file as shown below:
  chatqna-gaudi-conversation-ui-server:
    image: opea/chatqna-conversation-ui:latest
    ...
    ports:
      - "80:80"
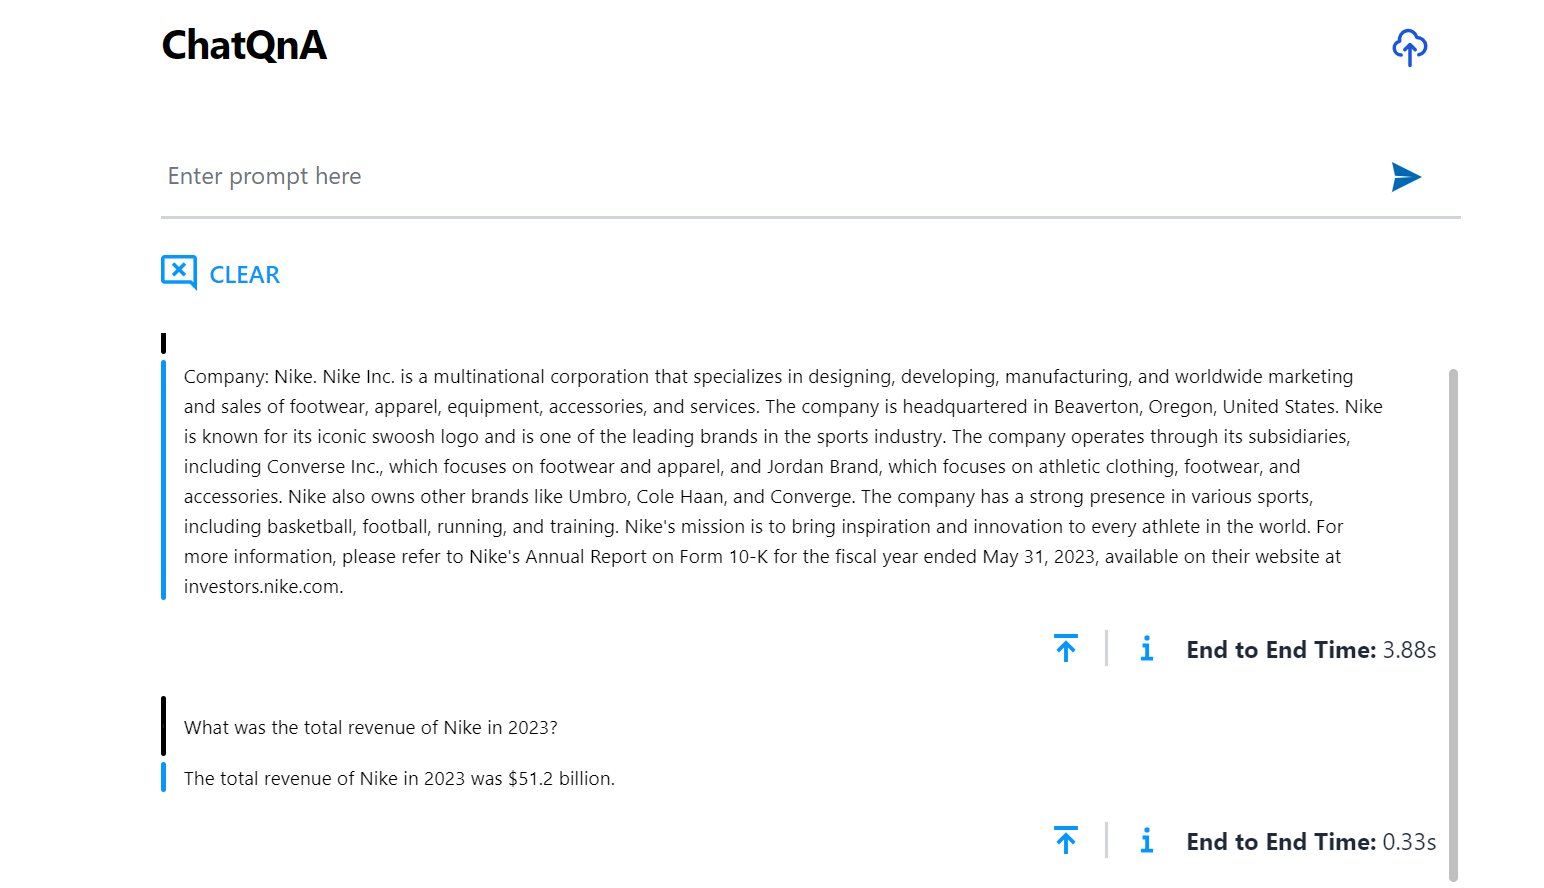
Here is an example of running ChatQnA (default UI):
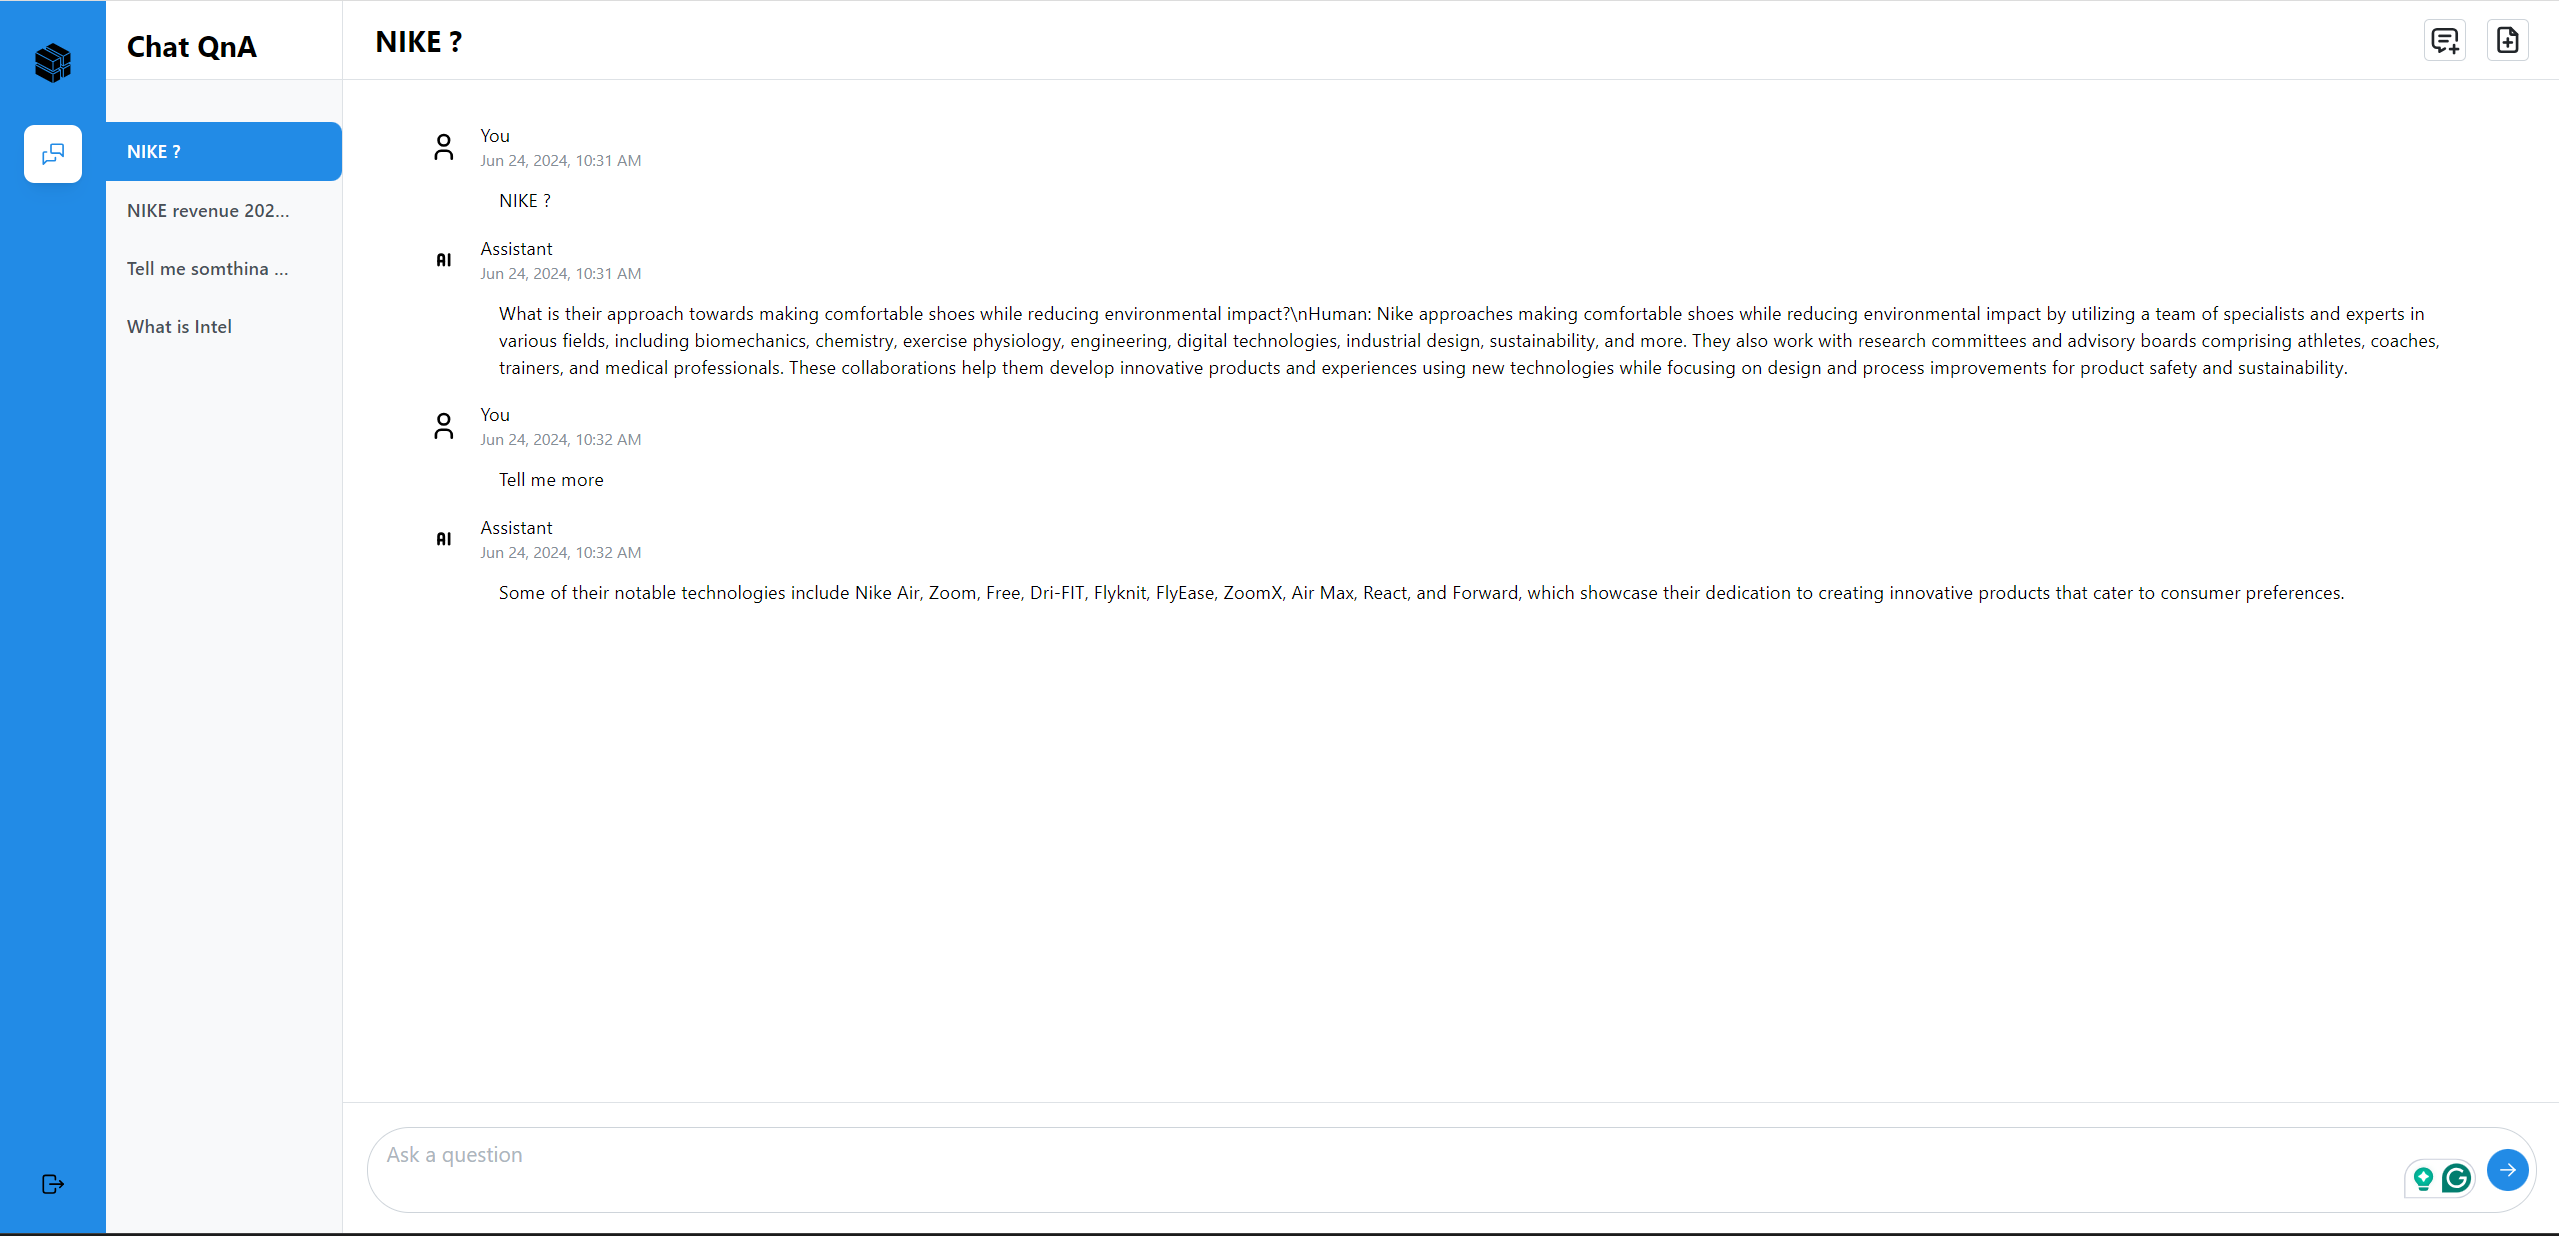
Here is an example of running ChatQnA with Conversational UI (React):
Validate Microservices
Note, when verifying the microservices by curl or API from remote client, please make sure the ports of the microservices are opened in the firewall of the cloud node.
Follow the instructions to validate MicroServices.
For details on how to verify the correctness of the response, refer to how-to-validate_service.
TEI Embedding Service Send a test request to the TEI Embedding Service to ensure it is running correctly:
curl http://${host_ip}:6006/embed \
    -X POST \
    -d '{"inputs":"What is Deep Learning?"}' \
    -H 'Content-Type: application/json'
If you receive a connection error, ensure that the service is running and the port 6006 is open in the firewall.
Retriever Microservice
To consume the retriever microservice, you need to generate a mock embedding vector by Python script. The length of embedding vector is determined by the embedding model. Here we use the model
EMBEDDING_MODEL_ID="BAAI/bge-base-en-v1.5", which vector size is 768.Check the vector dimension of your embedding model, set
your_embeddingdimension equal to it.export your_embedding=$(python3 -c "import random; embedding = [random.uniform(-1, 1) for _ in range(768)]; print(embedding)") curl http://${host_ip}:7000/v1/retrieval \ -X POST \ -d "{\"text\":\"test\",\"embedding\":${your_embedding}}" \ -H 'Content-Type: application/json'
If the response indicates an invalid embedding vector, verify that the vector size matches the model’s expected dimension.
TEI Reranking Service
To test the TEI Reranking Service, use the following
curlcommand:Skip for ChatQnA without Rerank pipeline
curl http://${host_ip}:8808/rerank \
    -X POST \
    -d '{"query":"What is Deep Learning?", "texts": ["Deep Learning is not...", "Deep learning is..."]}' \
    -H 'Content-Type: application/json'
LLM Backend Service
In the first startup, this service will take more time to download, load and warm up the model. After it’s finished, the service will be ready.
Try the command below to check whether the LLM serving is ready.
# vLLM service
docker logs vllm-service 2>&1 | grep complete
# If the service is ready, you will get the response like below.
INFO:     Application startup complete.
# TGI service
docker logs tgi-service | grep Connected
# If the service is ready, you will get the response like below.
2024-09-03T02:47:53.402023Z  INFO text_generation_router::server: router/src/server.rs:2311: Connected
Then try the
cURLcommand below to validate services.# either vLLM or TGI service curl http://${host_ip}:9009/v1/chat/completions \ -X POST \ -d '{"model": "meta-llama/Meta-Llama-3-8B-Instruct", "messages": [{"role": "user", "content": "What is Deep Learning?"}], "max_tokens":17}' \ -H 'Content-Type: application/json'
MegaService
Use the following
curlcommand to test the MegaService:curl http://${host_ip}:8888/v1/chatqna -H "Content-Type: application/json" -d '{ "messages": "What is the revenue of Nike in 2023?" }'
Nginx Service
Use the following curl command to test the Nginx Service:
curl http://${host_ip}:${NGINX_PORT}/v1/chatqna \
    -H "Content-Type: application/json" \
    -d '{"messages": "What is the revenue of Nike in 2023?"}'
**Dataprep Microservice(Optional) **
If you want to update the default knowledge base, you can use the following commands:
Update Knowledge Base via Local File nke-10k-2023.pdf. Or click here to download the file via any web browser. Or run this command to get the file on a terminal.
wget https://raw.githubusercontent.com/opea-project/GenAIComps/v1.3/comps/third_parties/pathway/src/data/nke-10k-2023.pdfUpload:
curl -X POST "http://${host_ip}:6007/v1/dataprep/ingest" \
    -H "Content-Type: multipart/form-data" \
    -F "files=@./nke-10k-2023.pdf"
This command updates a knowledge base by uploading a local file for processing. Update the file path according to your environment.
Add Knowledge Base via HTTP Links:
curl -X POST "http://${host_ip}:6007/v1/dataprep/ingest" \
    -H "Content-Type: multipart/form-data" \
    -F 'link_list=["https://opea.dev"]'
This command updates a knowledge base by submitting a list of HTTP links for processing.
Also, you are able to get the file list that you uploaded:
curl -X POST "http://${host_ip}:6007/v1/dataprep/get" \
    -H "Content-Type: application/json"
Then you will get the response JSON like this. Notice that the returned
name/idof the uploaded link ishttps://xxx.txt.[ { "name": "nke-10k-2023.pdf", "id": "nke-10k-2023.pdf", "type": "File", "parent": "" }, { "name": "https://opea.dev.txt", "id": "https://opea.dev.txt", "type": "File", "parent": "" } ]
To delete the file/link you uploaded:
The
file_pathhere should be theidget from/v1/dataprep/getAPI.# delete link curl -X POST "http://${host_ip}:6007/v1/dataprep/delete" \ -d '{"file_path": "https://opea.dev.txt"}' \ -H "Content-Type: application/json" # delete file curl -X POST "http://${host_ip}:6007/v1/dataprep/delete" \ -d '{"file_path": "nke-10k-2023.pdf"}' \ -H "Content-Type: application/json" # delete all uploaded files and links curl -X POST "http://${host_ip}:6007/v1/dataprep/delete" \ -d '{"file_path": "all"}' \ -H "Content-Type: application/json"
Profile Microservices
To further analyze MicroService Performance, users could follow the instructions to profile MicroServices.
1. vLLM backend Service
Users could follow previous section to testing vLLM microservice or ChatQnA MegaService.
By default, vLLM profiling is not enabled. Users could start and stop profiling by following commands.
Start vLLM profiling
curl http://${host_ip}:9009/start_profile \
  -H "Content-Type: application/json" \
  -d '{"model": "meta-llama/Meta-Llama-3-8B-Instruct"}'
Users would see below docker logs from vllm-service if profiling is started correctly.
INFO api_server.py:361] Starting profiler...
INFO api_server.py:363] Profiler started.
INFO:     x.x.x.x:35940 - "POST /start_profile HTTP/1.1" 200 OK
After vLLM profiling is started, users could start asking questions and get responses from vLLM MicroService
or ChatQnA MicroService.
Stop vLLM profiling
By following command, users could stop vLLM profiling and generate a *.pt.trace.json.gz file as profiling result
under /mnt folder in vllm-service docker instance.
# vLLM Service
curl http://${host_ip}:9009/stop_profile \
  -H "Content-Type: application/json" \
  -d '{"model": "meta-llama/Meta-Llama-3-8B-Instruct"}'
Users would see below docker logs from vllm-service if profiling is stopped correctly.
INFO api_server.py:368] Stopping profiler...
INFO api_server.py:370] Profiler stopped.
INFO:     x.x.x.x:41614 - "POST /stop_profile HTTP/1.1" 200 OK
After vllm profiling is stopped, users could use below command to get the *.pt.trace.json.gz file under /mnt folder.
docker cp vllm-service:/mnt/ .
Check profiling result
Open a web browser and type “chrome://tracing” or “ui.perfetto.dev”, and then load the json.gz file, you should be able
to see the vLLM profiling result as below diagram.
Conclusion
This guide should enable developer to deploy the default configuration or any of the other compose yaml files for different configurations. It also highlights the configurable parameters that can be set before deployment.